相思资源网 Design By www.200059.com
来源:PS联盟 作者:Sener
本教程原图素材背景部分色调比较单一,抠图就比较容易。采用通道抠出的时候,为了更好抠出头发的细节,调色时幅度不要太大避免损失头发细节。
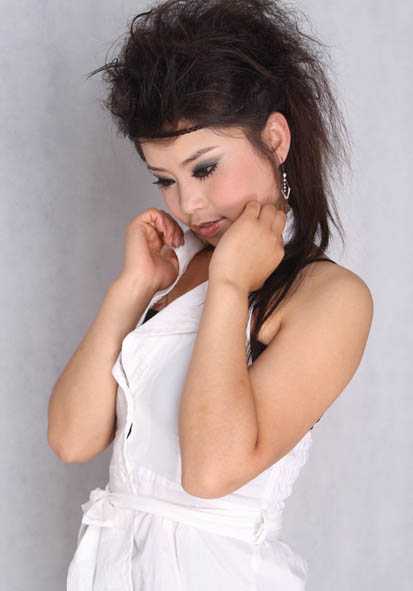
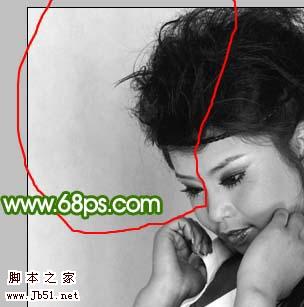
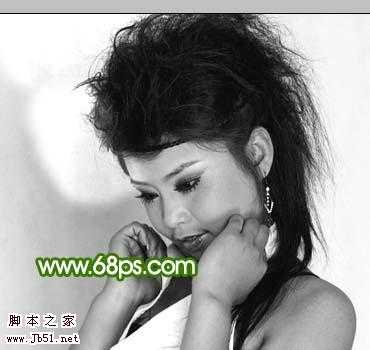
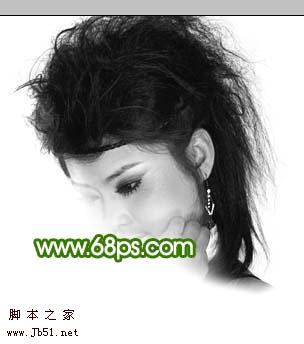
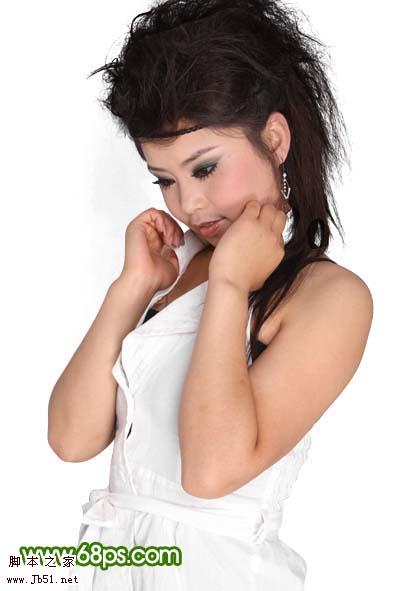
原图
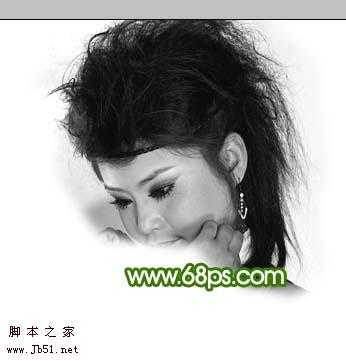
最终效果
 1、打开原图素材,点通道面板,把蓝色通道复制一层,如图1。
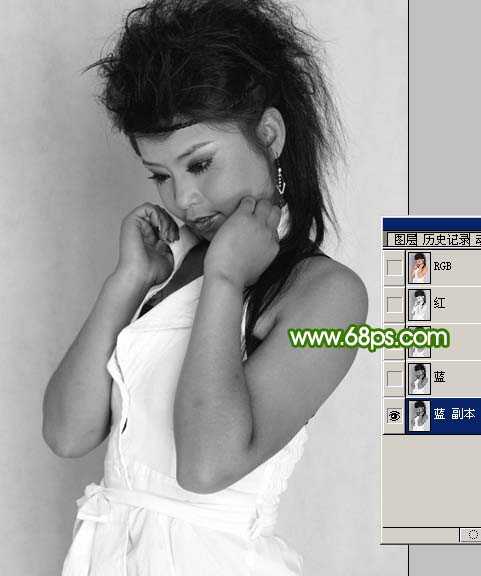
<图1>
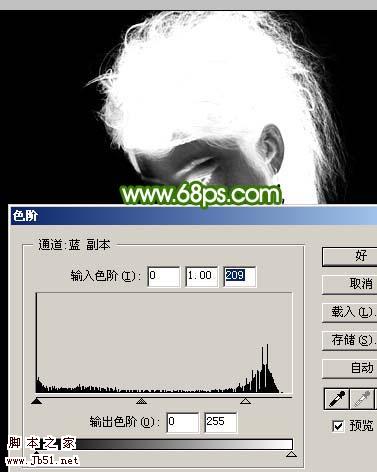
2、按Ctrl + L 对蓝色通道副本调整色阶,稍微调亮一点,参数设置如图2,效果如图3。为了尽可能保持更多头发细节,调亮的是很幅度不要太大。

<图2>
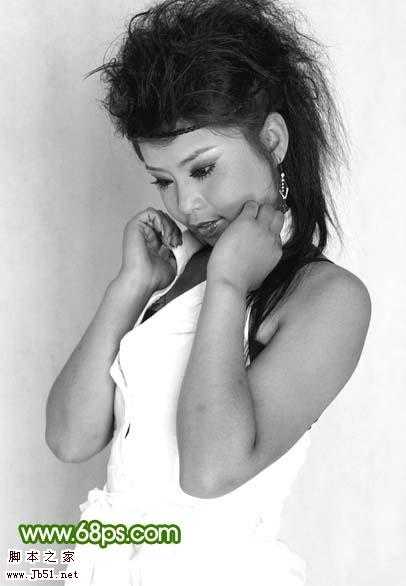
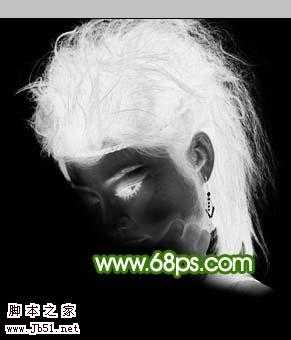
<图3> 3、按Ctrl + M 调整下明暗对比,参数设置如图4,效果如图5,到这一步人物后面的头发基本上非常清晰了,前面头发还有背景色。

<图4>
<图5>
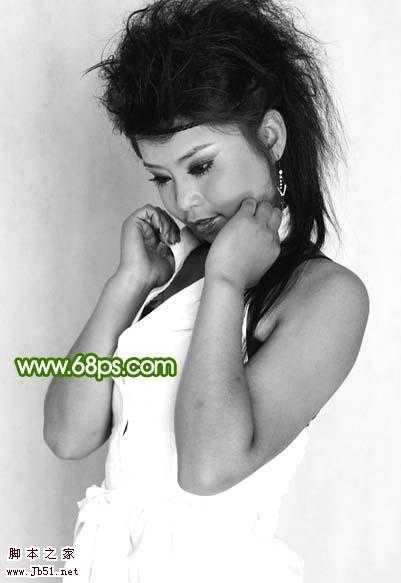
4、下图红圈位置,头发还有背景色,下面在分批处理。
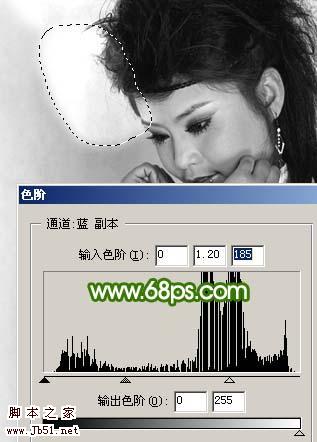
<图6> 5、用套索工具勾出图7所示的选区,按Ctrl + Alt + D 羽化5个像素,按Ctrl + L 调整色阶,参数设置如图8,效果如图9。虽然可以一步把灰色背景去掉,但那样就会损失很多头发细节。
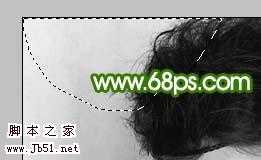
<图7>
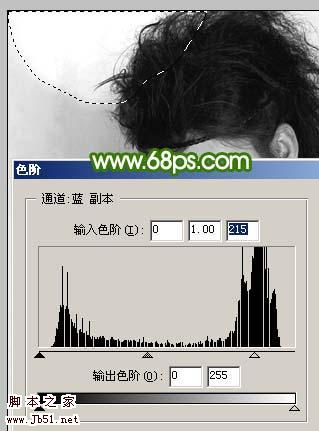
<图8>
<图9> 6、同样的方法勾出图10所示的选区,羽化后按Ctrl + L 调整色阶,参数及效果如下图。到这一步头发部分基本处理干净。
<图10>
<图11>
7、用套索工具把头发部分勾出来,如图12,按Ctrl + Shift + I 反选后填充白色,效果如图13。
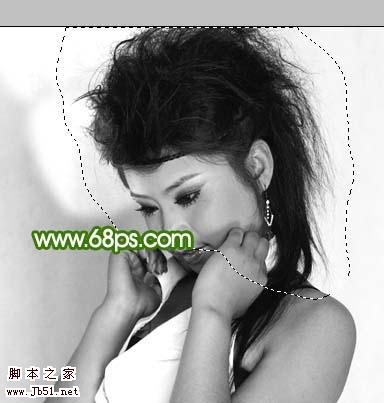
<图12>
<图13> 8、按Ctrl + L 稍微调白一点,基本效果就出来了。
<图14>
9、按Ctrl + I 反相操作,如图15。
<图15>
10、按Ctrl + L 调整色阶稍微调白一点,如图16。
<图16> 11、回到背景图层,按Ctrl + Alt + 4 调出选区,按Ctrl + J 把选区部分图像复制到新的图层,为了加重效果,下面的图层填充了白色,如图17。人物头发部分基本抠出来了。
<图17>
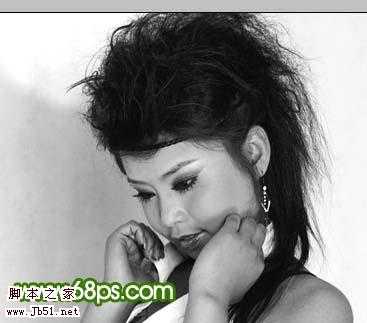
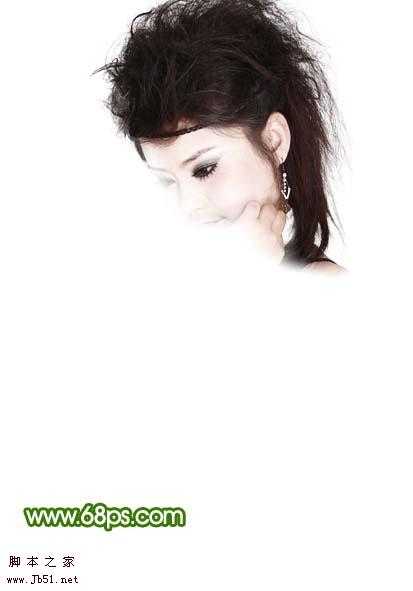
12、把人物部分大致抠出来,整体效果就出来了。
<图18>
13、加上其它颜色背景,头发部分细节要比较完整。
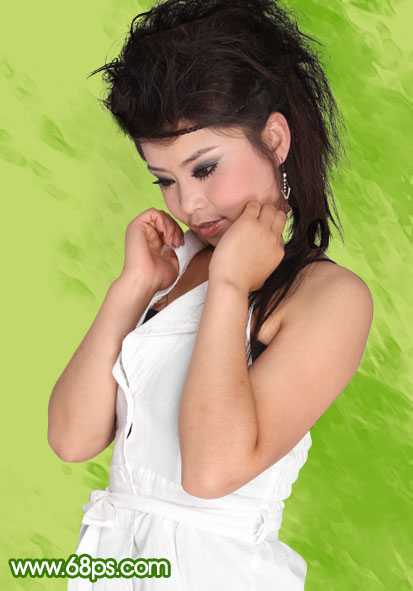
<图19>
本教程原图素材背景部分色调比较单一,抠图就比较容易。采用通道抠出的时候,为了更好抠出头发的细节,调色时幅度不要太大避免损失头发细节。
原图
最终效果
1、打开原图素材,点通道面板,把蓝色通道复制一层,如图1。 <图1>
2、按Ctrl + L 对蓝色通道副本调整色阶,稍微调亮一点,参数设置如图2,效果如图3。为了尽可能保持更多头发细节,调亮的是很幅度不要太大。
<图2>
<图3> 3、按Ctrl + M 调整下明暗对比,参数设置如图4,效果如图5,到这一步人物后面的头发基本上非常清晰了,前面头发还有背景色。
<图4>
<图5>
4、下图红圈位置,头发还有背景色,下面在分批处理。
<图6> 5、用套索工具勾出图7所示的选区,按Ctrl + Alt + D 羽化5个像素,按Ctrl + L 调整色阶,参数设置如图8,效果如图9。虽然可以一步把灰色背景去掉,但那样就会损失很多头发细节。
<图7>
<图8>
<图9> 6、同样的方法勾出图10所示的选区,羽化后按Ctrl + L 调整色阶,参数及效果如下图。到这一步头发部分基本处理干净。
<图10>
<图11>
7、用套索工具把头发部分勾出来,如图12,按Ctrl + Shift + I 反选后填充白色,效果如图13。
<图12>
<图13> 8、按Ctrl + L 稍微调白一点,基本效果就出来了。
<图14>
9、按Ctrl + I 反相操作,如图15。
<图15>
10、按Ctrl + L 调整色阶稍微调白一点,如图16。
<图16> 11、回到背景图层,按Ctrl + Alt + 4 调出选区,按Ctrl + J 把选区部分图像复制到新的图层,为了加重效果,下面的图层填充了白色,如图17。人物头发部分基本抠出来了。
<图17>
12、把人物部分大致抠出来,整体效果就出来了。
<图18>
13、加上其它颜色背景,头发部分细节要比较完整。
<图19>
标签:
Photoshop,头发
相思资源网 Design By www.200059.com
广告合作:本站广告合作请联系QQ:858582 申请时备注:广告合作(否则不回)
免责声明:本站文章均来自网站采集或用户投稿,网站不提供任何软件下载或自行开发的软件! 如有用户或公司发现本站内容信息存在侵权行为,请邮件告知! 858582#qq.com
免责声明:本站文章均来自网站采集或用户投稿,网站不提供任何软件下载或自行开发的软件! 如有用户或公司发现本站内容信息存在侵权行为,请邮件告知! 858582#qq.com
相思资源网 Design By www.200059.com
暂无Photoshop 通道精确的抠出人物的头发的评论...