相思资源网 Design By www.200059.com
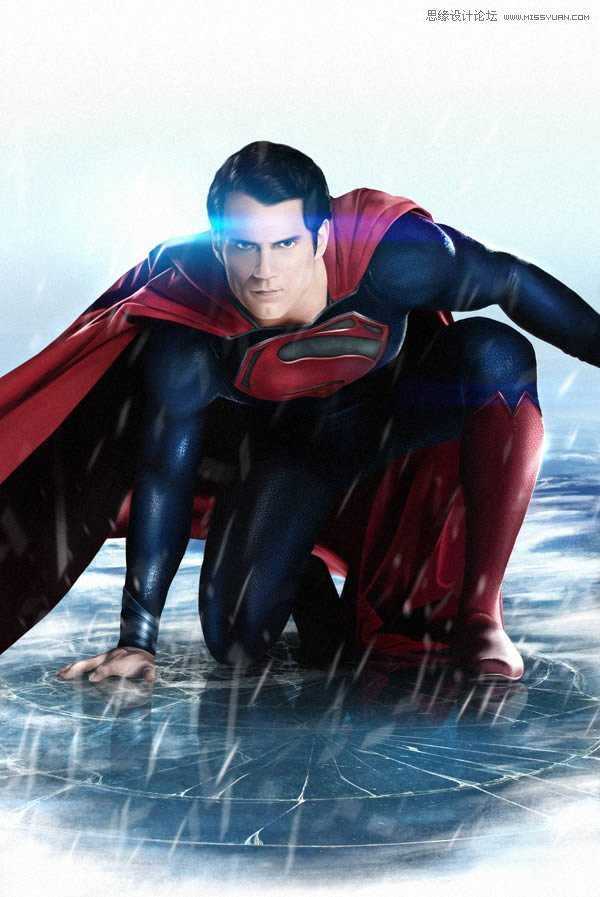
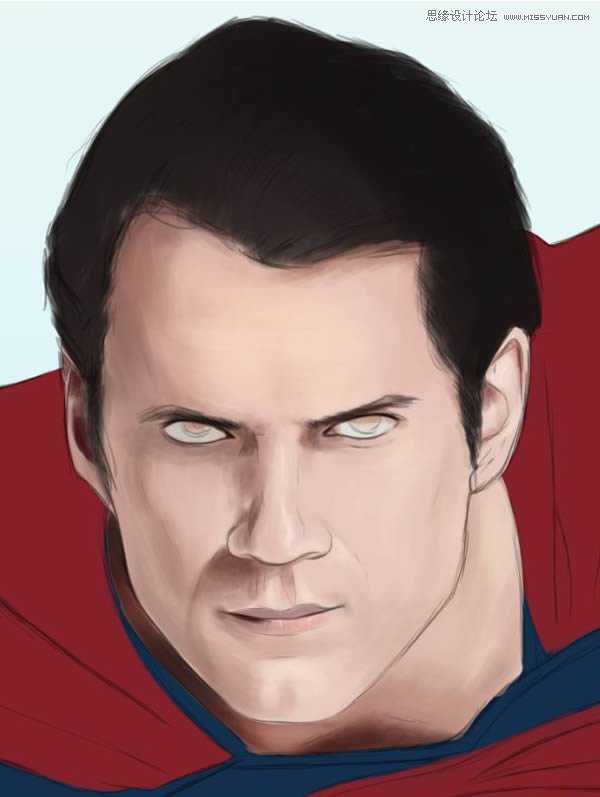
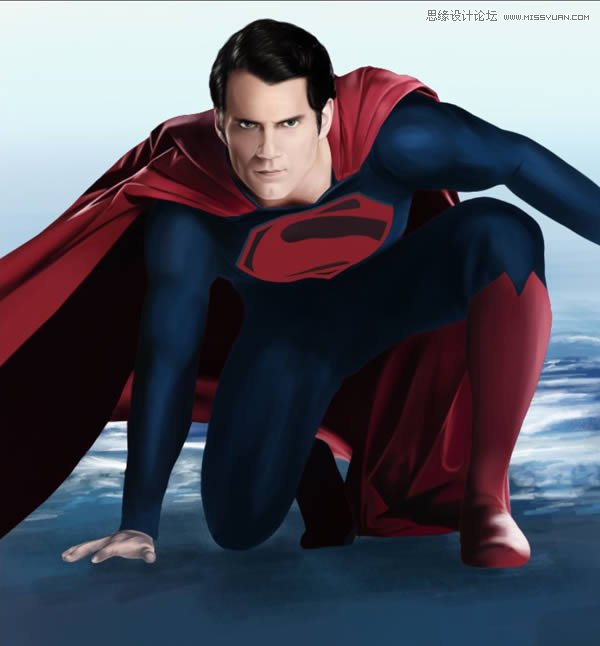
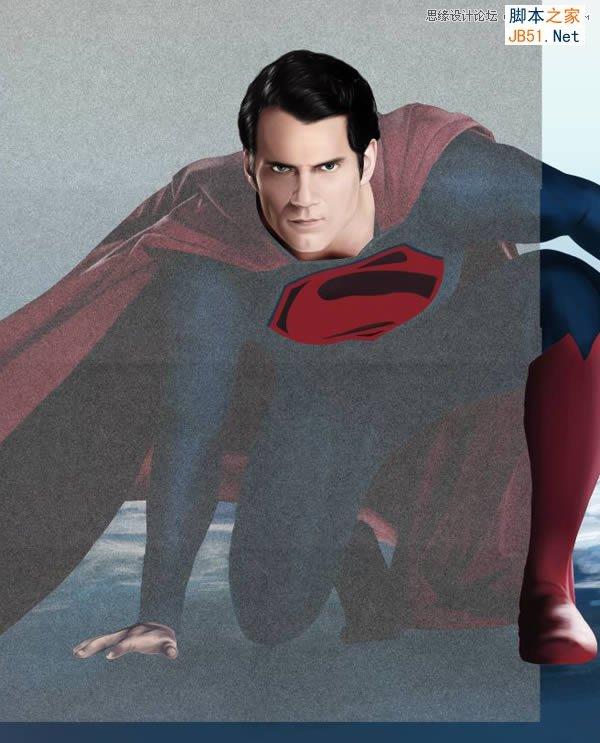
最终效果:
具体步骤:
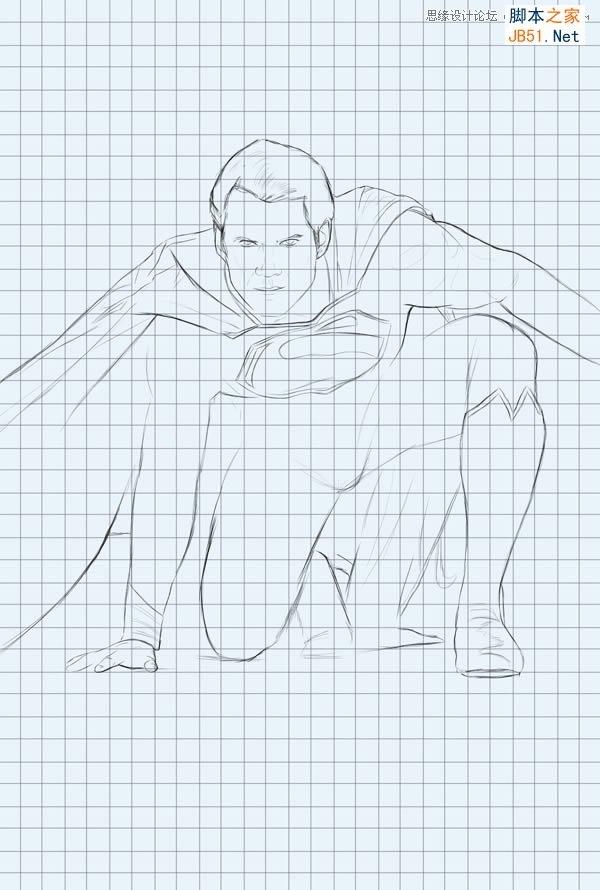
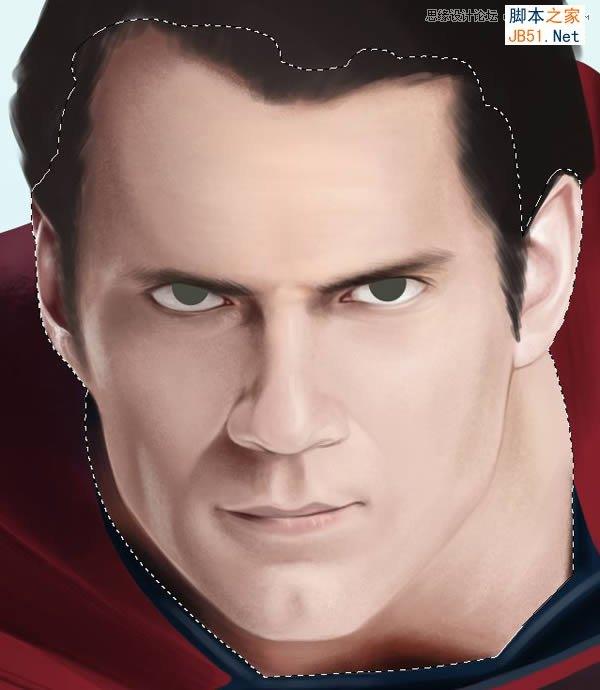
1、利用网格辅助还原参考图像的真实比例,迅速描绘出精确的草图。
2、绘制背景
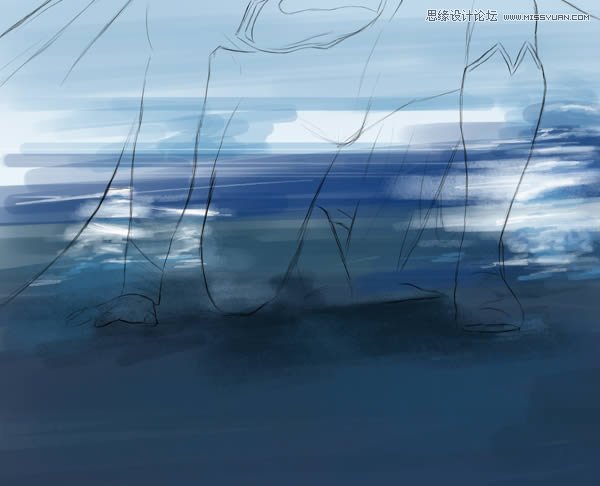
(1)创建“Background Rough”层

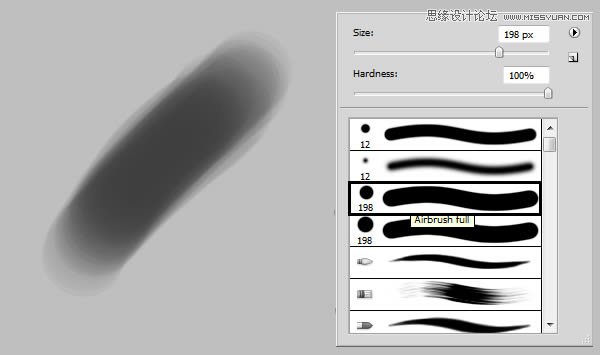
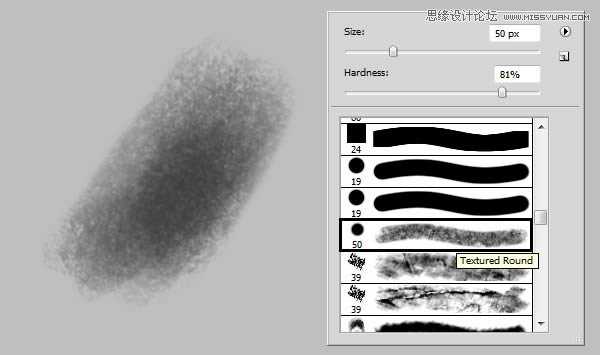
(2)选择圆形笔刷,设置不透明度50%左右,绘制大体明暗效果
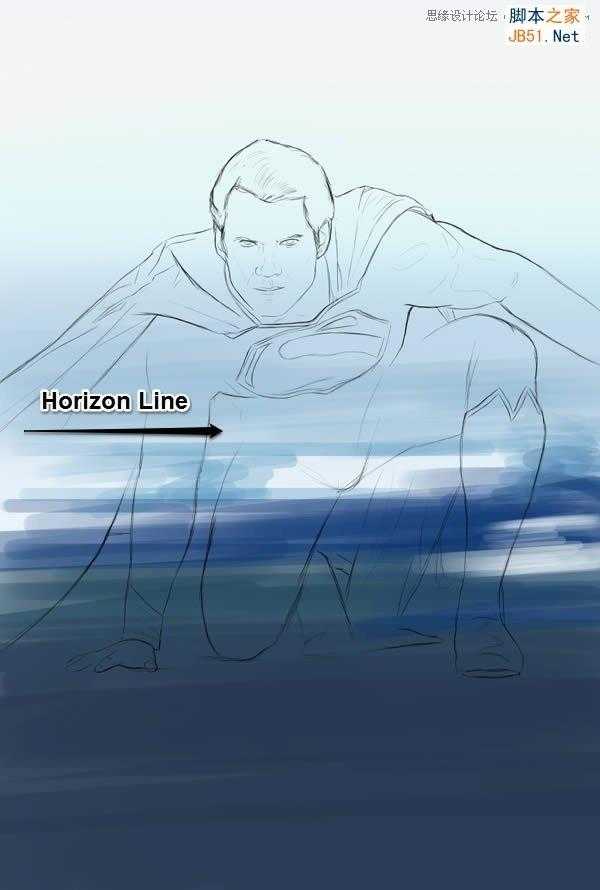
(3)创建新层,命名为“Background detail1”
(4)选择纹理圆形笔刷,在脚下和身后涂抹
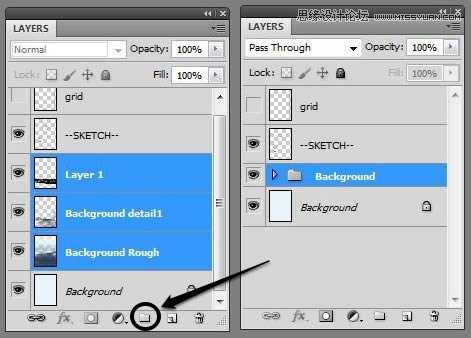
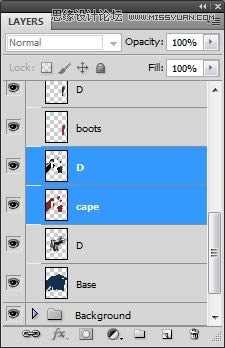
(5)选择除背景层外的所有图层,执行Ctrl+G编组,命名为“Background”
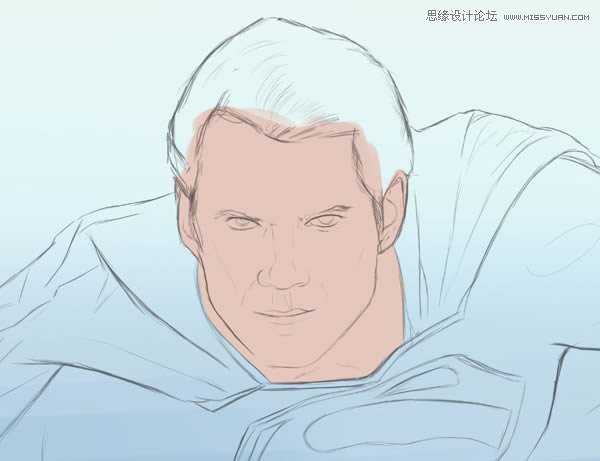
3、基本颜色
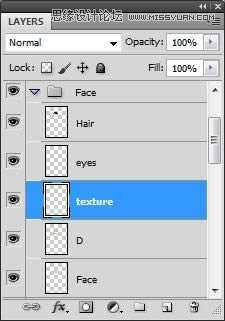
(1)新建组“Face”,并新建图层“Face”
(2)设置颜色#e5c7bc,这新层中绘制脸部皮肤
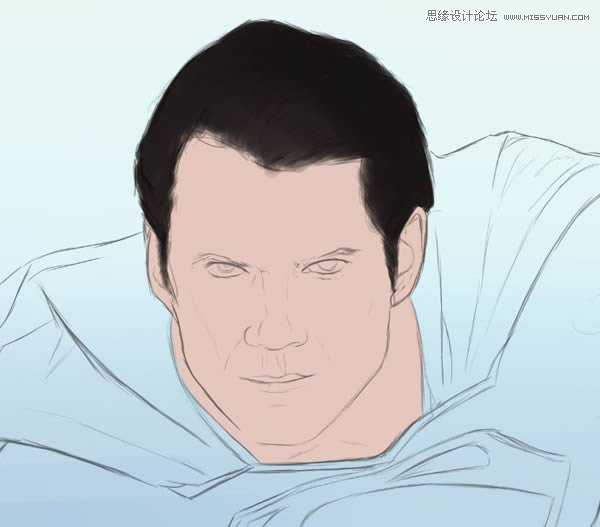
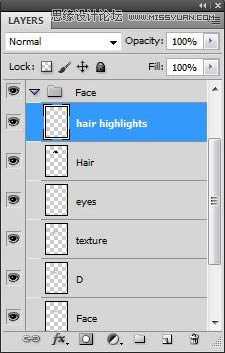
(3)新建图层“Hair”,设置颜色#181212,绘制头发最暗部,尽量避免使用纯黑色。
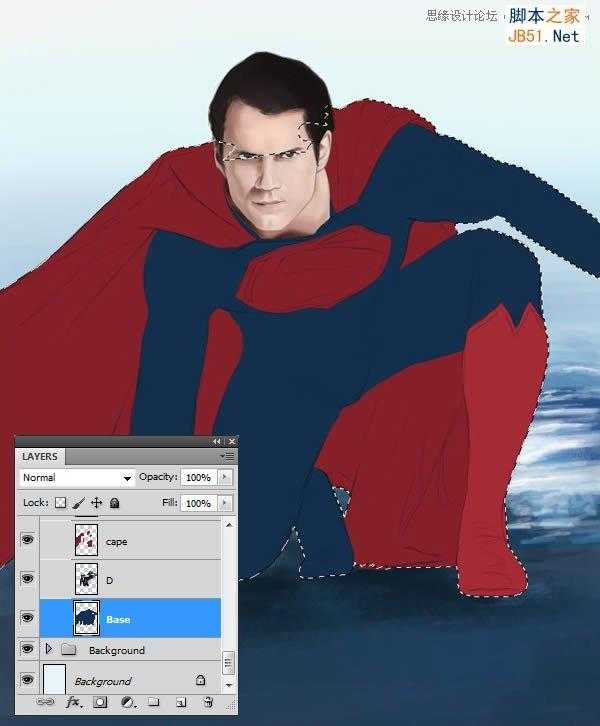
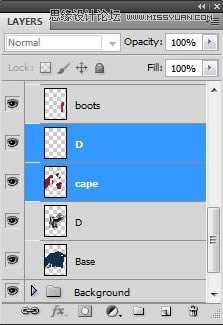
(4)创建新组,命名为“BODY”,并新建图层
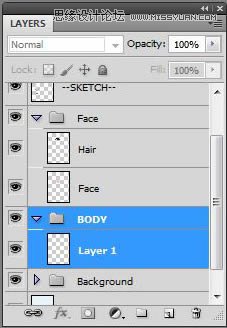
(5)将新层命名为“Base”,设置颜色#142f4d,涂抹整个身体
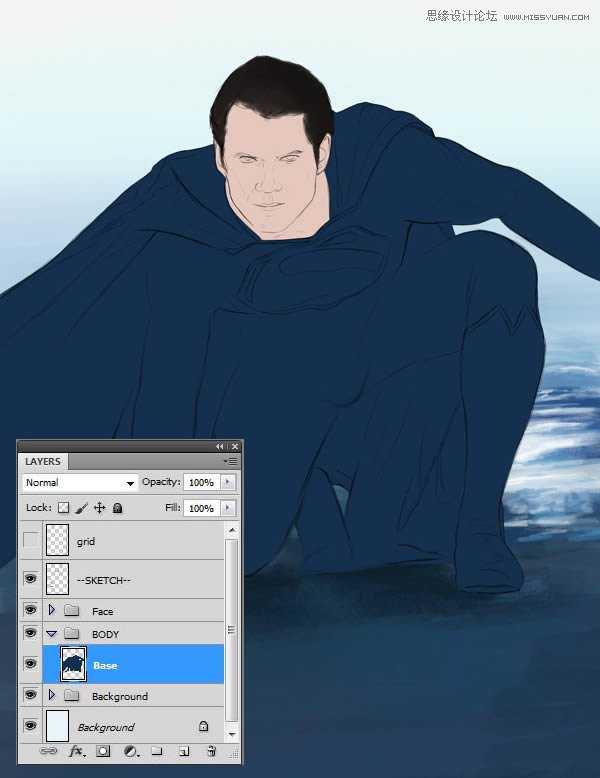
(6)按住Ctrl,单击Base层,选中此层
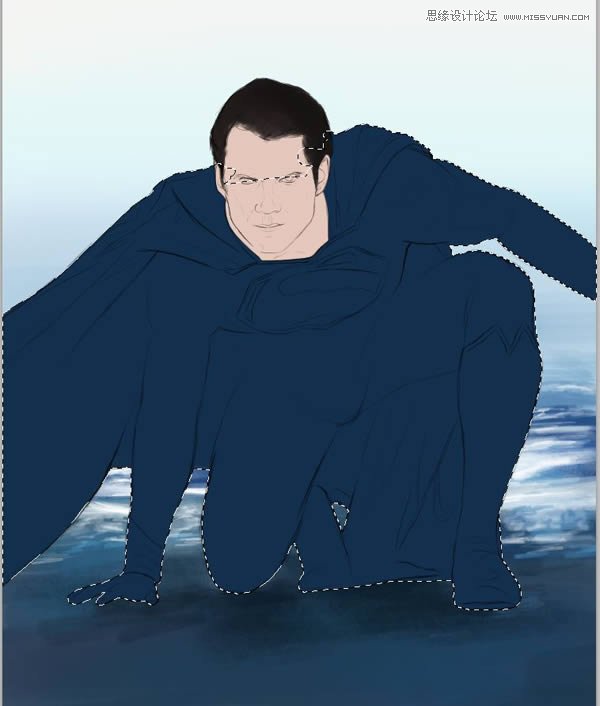
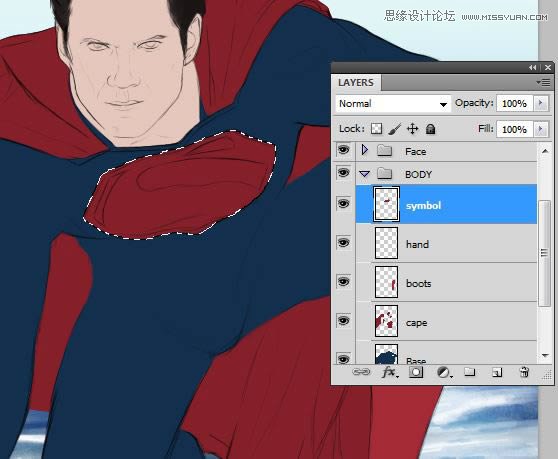
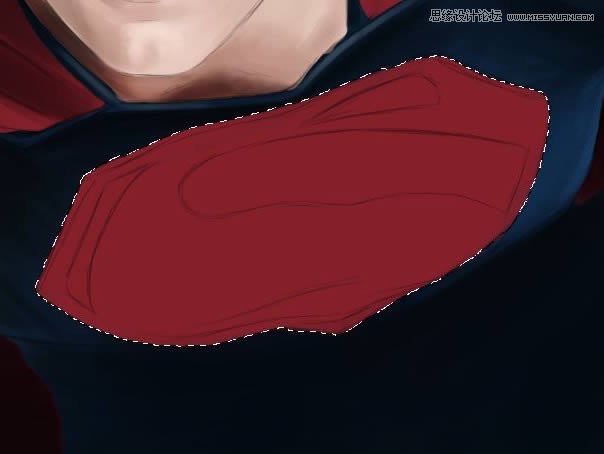
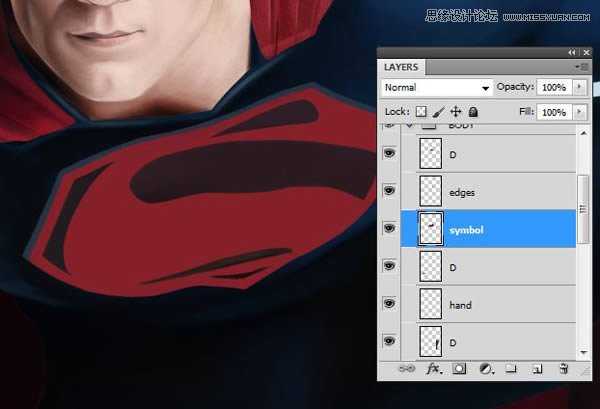
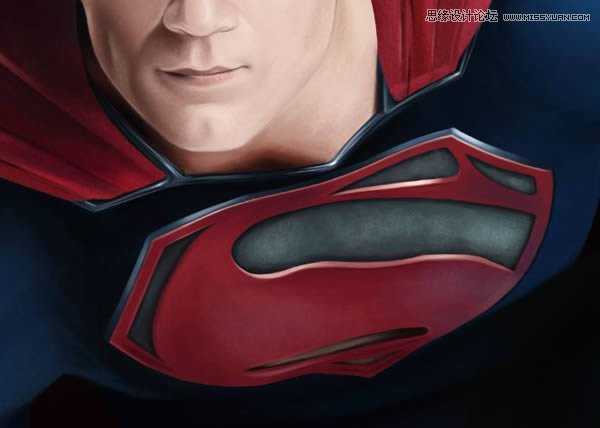
(7)在“Base”层的基础上,颜色设置#852028,涂抹出红色斗篷,靴子以及胸前的徽标
4、基本色调
(1)选中“Face”层
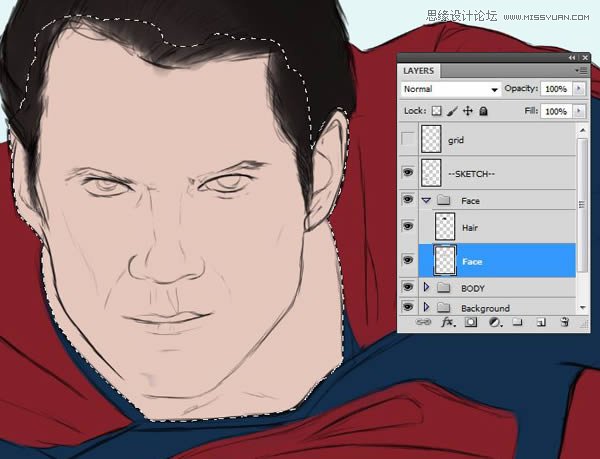
(2)选择圆形硬喷笔,绘制中间色调

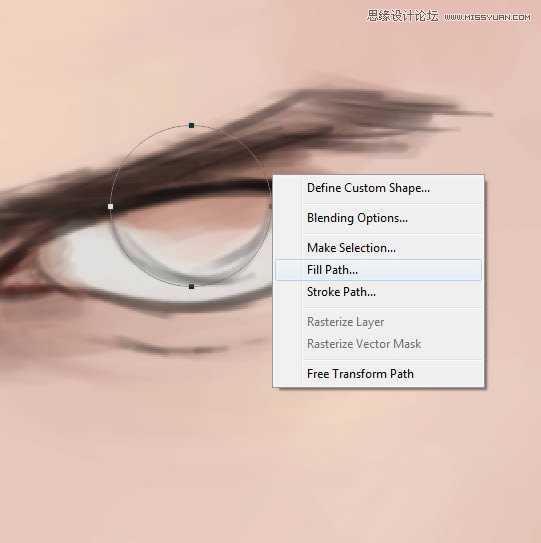
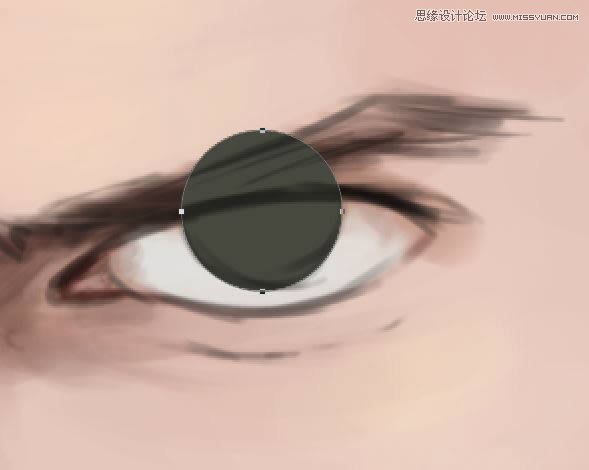
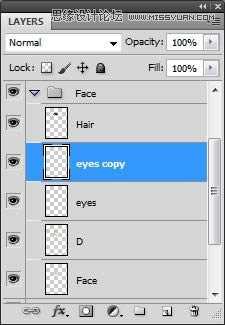
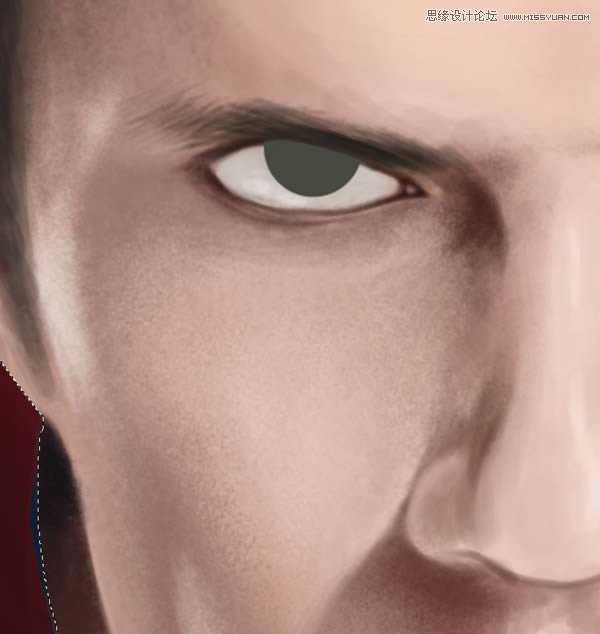
(3)在“Face”组下,创建新层“eyes”
(4)使用椭圆工具(U),按住Shift键,拖动出个正圆,并填充颜色为#47493e
(5)复制“eyes”层,并拖动到另一只眼睛处,并调整大小,然后擦去多出来的眼脸部分。
(6)选中“Base”层
(7)创建新层,设置颜色#070c12,绘制该区域的暗部,尽量避免使用纯黑色。
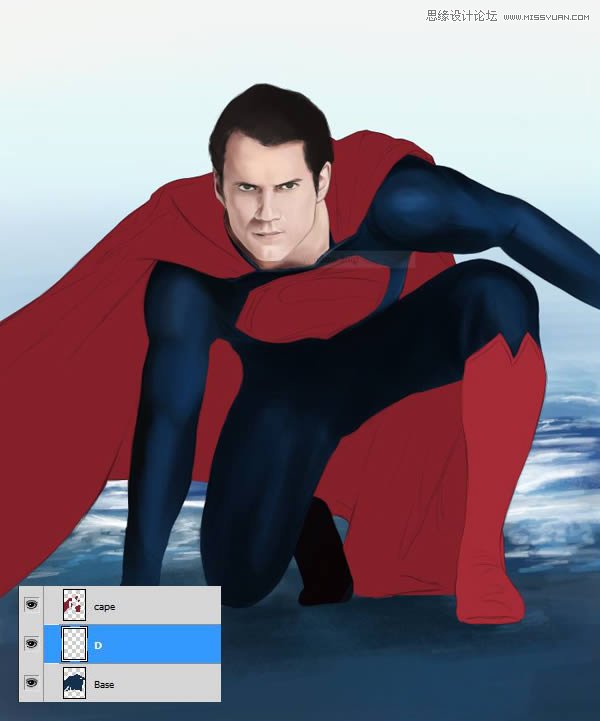
(8)在“cape”层上新建图层,并绘制出周围的阴影
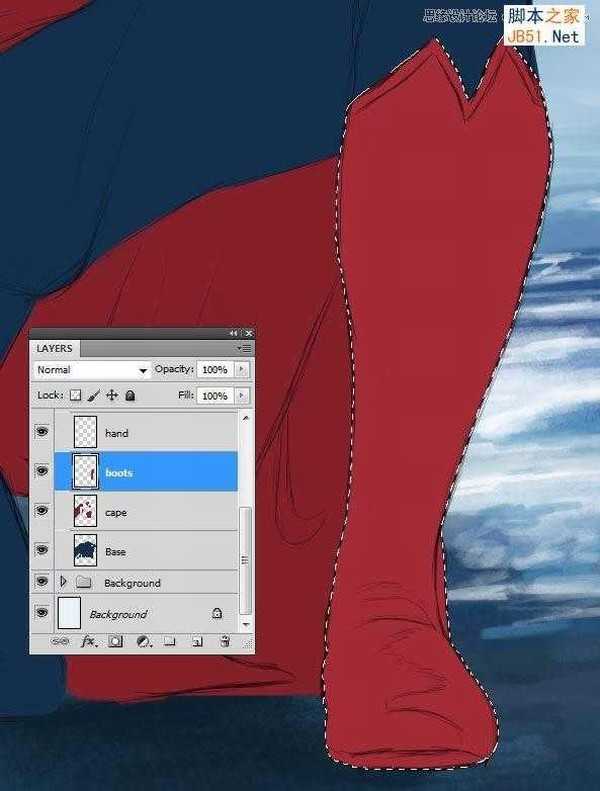
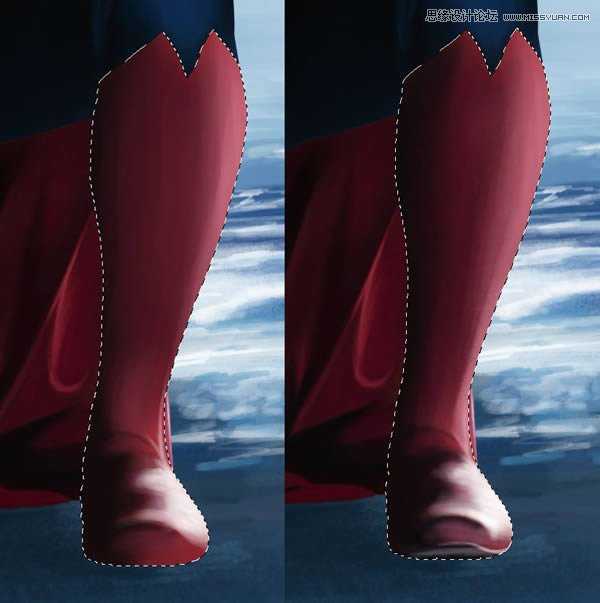
(9)在“Boots”层上新建图层,并添加明暗色调,还可以添加一些高光
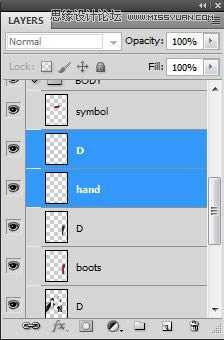
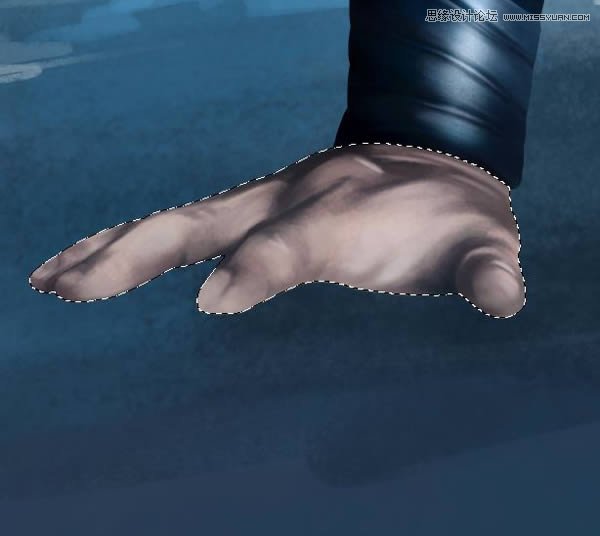
(10)在“hand”层上,新建图层,并画上一些阴影


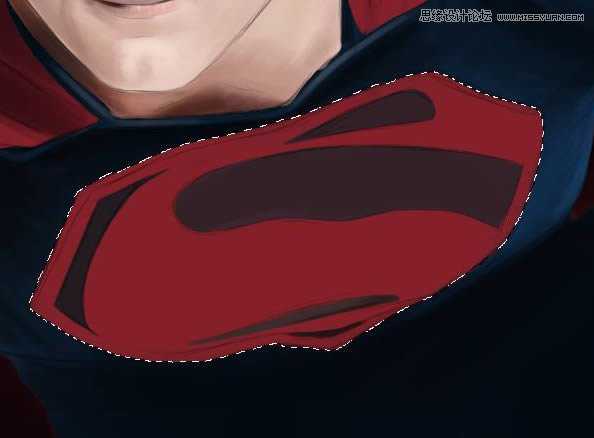
(11)同样在“symbol”层上新建阴影层
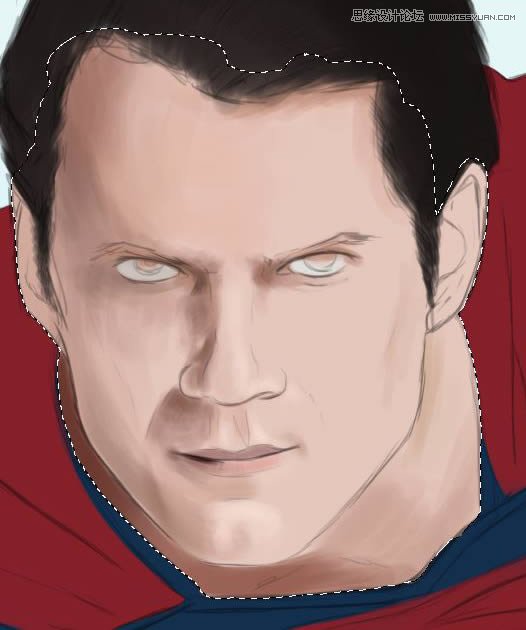
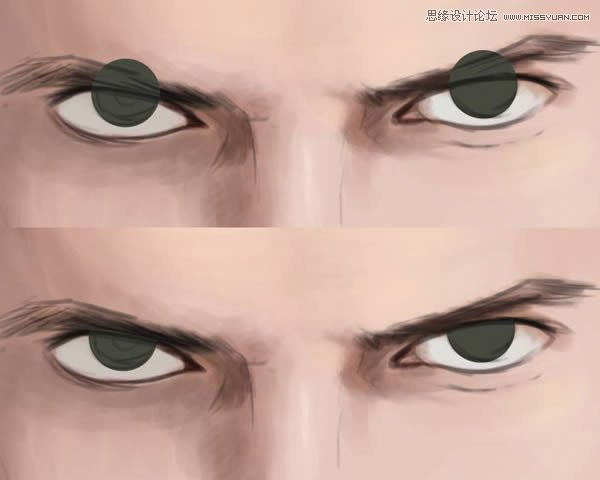
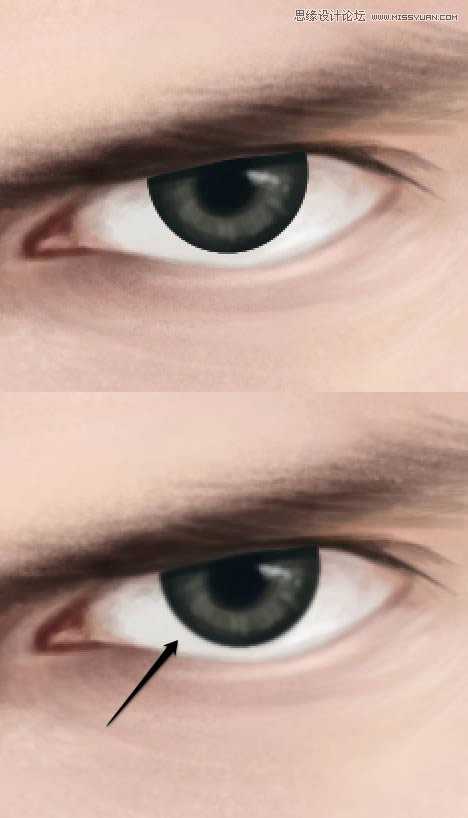
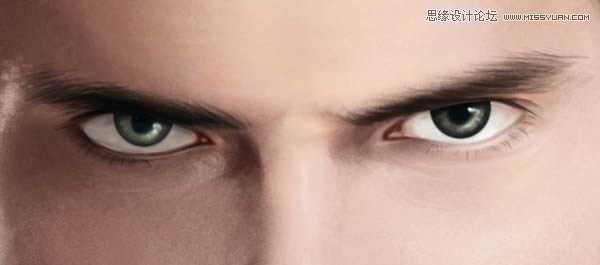
5、皮肤纹理
(1)在“Face”组下,新建“texture”层,选择皮肤纹理画笔,绘制脸部皮肤纹理
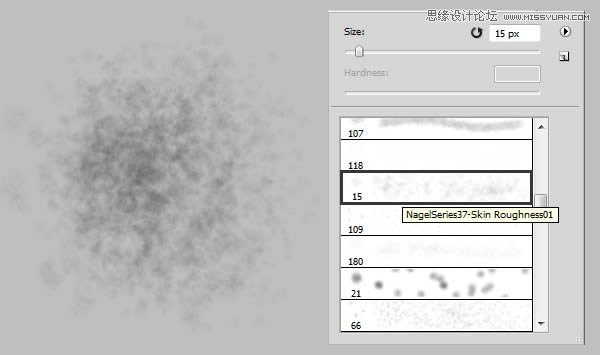
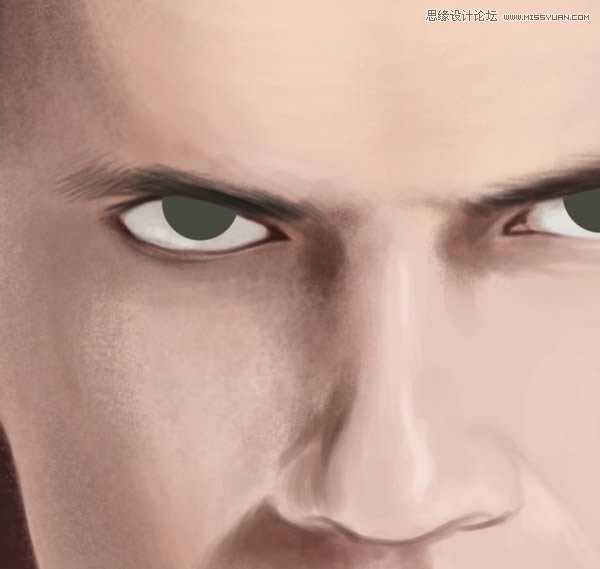
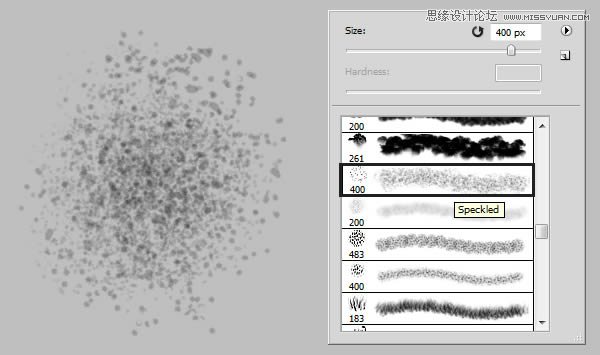
(2)选择“Speckeled”精细笔刷,绘制眼睛和耳朵周围
(3)绘制眼睛瞳孔
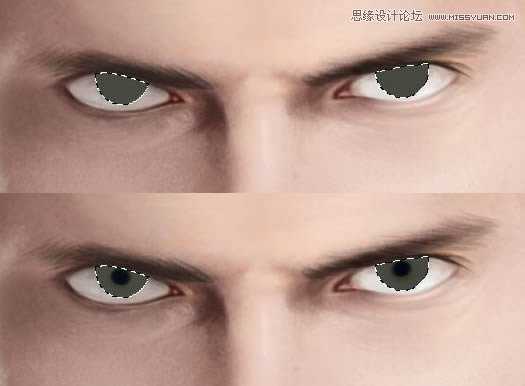
(4)使用模糊工具柔化边缘
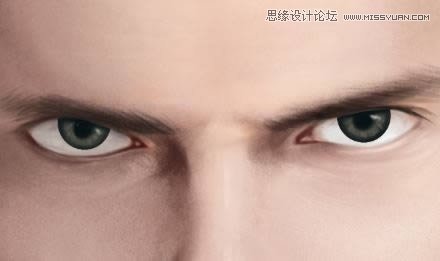
6、头发
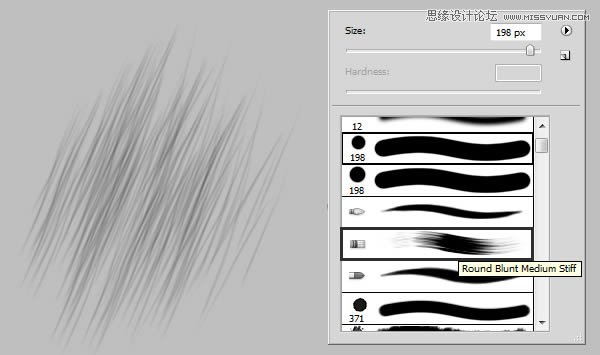
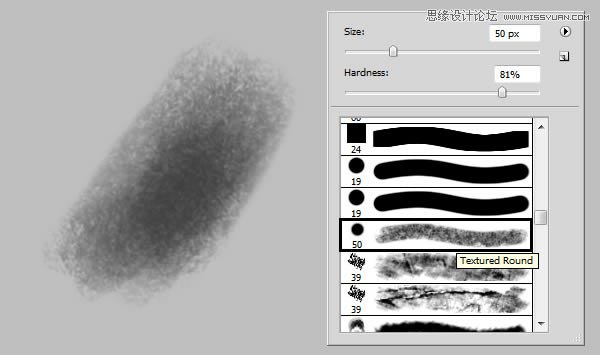
(1)使用“圆钝中等硬笔刷”,绘制头发纹理
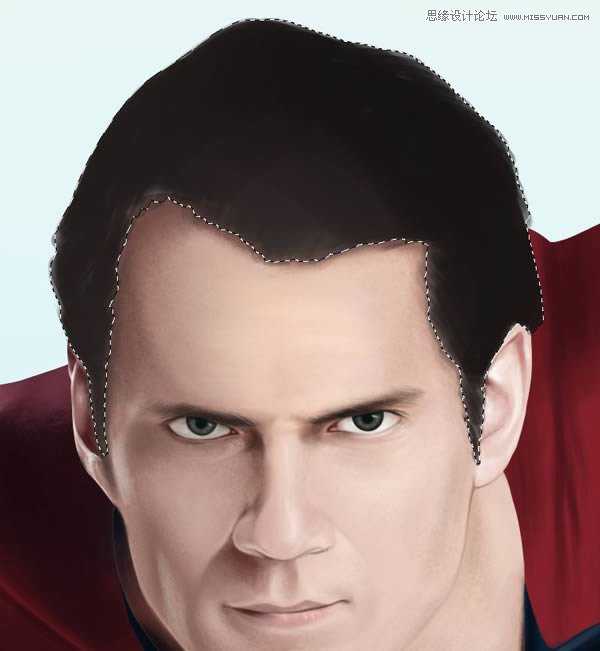
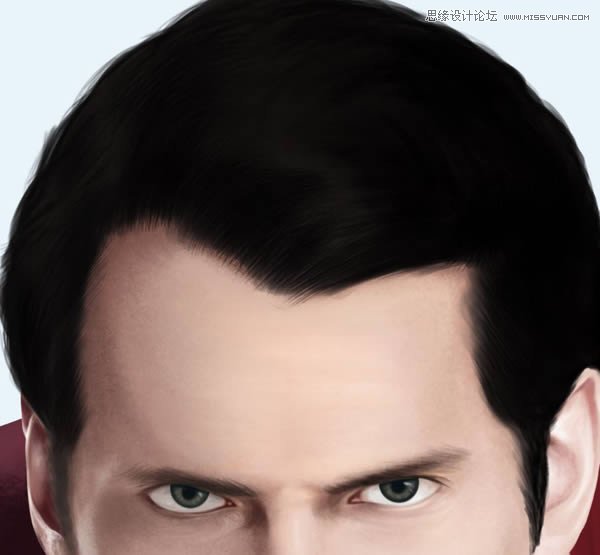
(2)创建新层,并命名为“hair highlights”,使用纹理圆形笔刷,设置灰白颜色“#b9aca1”,绘制头发高光
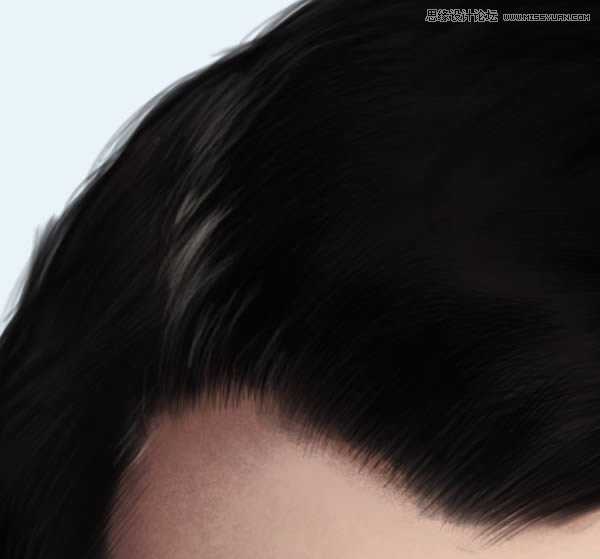

(3)同一层上,绘制一些睫毛
(4)确保脸部和头发的细节丰富后,可以进入衣服的绘制

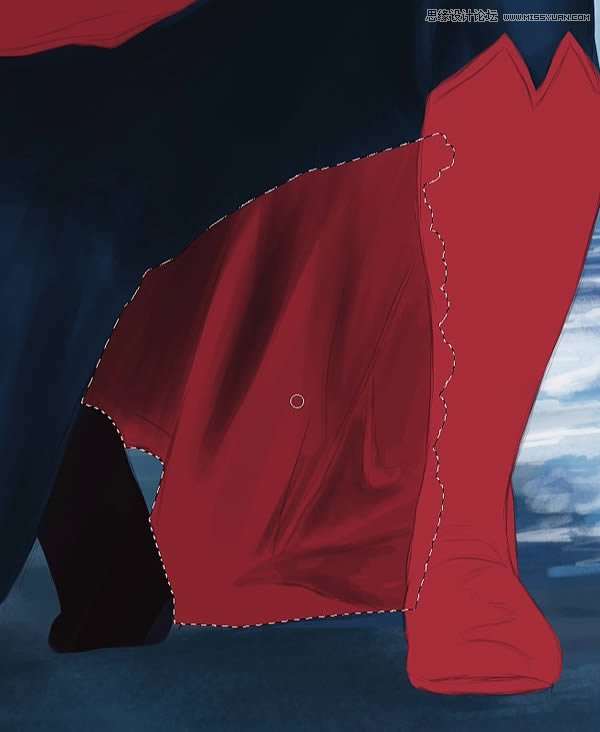
7、衣服绘制
(1)返回到“cape”层,颜色设置#ffe2e5,绘制出衣服的褶皱高光

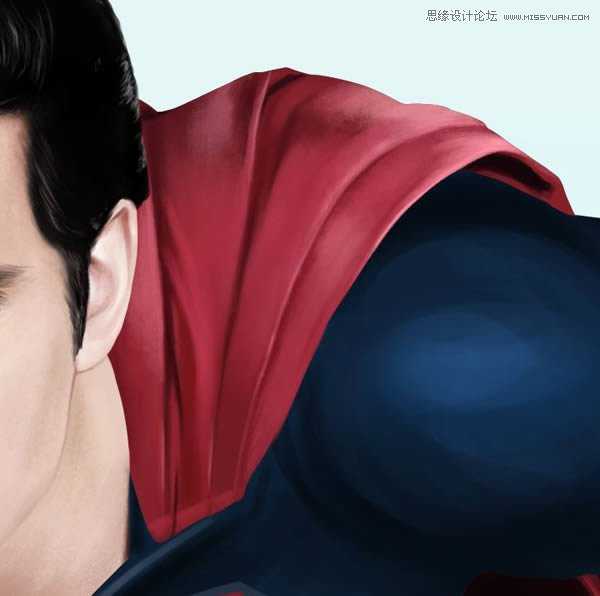
(2)斗篷细节添加完毕后,打开第一个纹理文件(Noise Texture.jpg)
(3)将纹理拖动到图中位置
(4)继续复制纹理层,确保纹理完全覆盖住斗篷
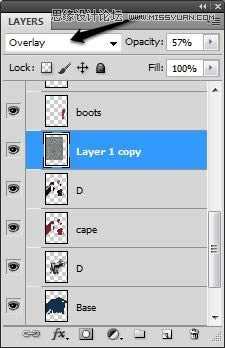
(5)执行Ctrl+E,合并所有纹理层,并设置“叠加效果,下降25%-30%的不透明度
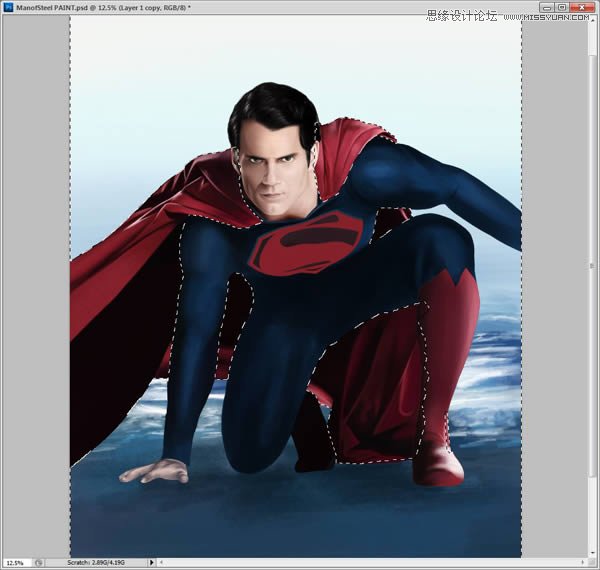
(6)按住Ctrl,并单击“cape”层,执行Shift+ctrl+I反选,并按Backspace键删除斗篷以外多余的纹理
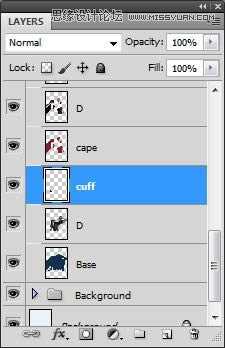
(7)新建图层“Cuff”,绘制袖口
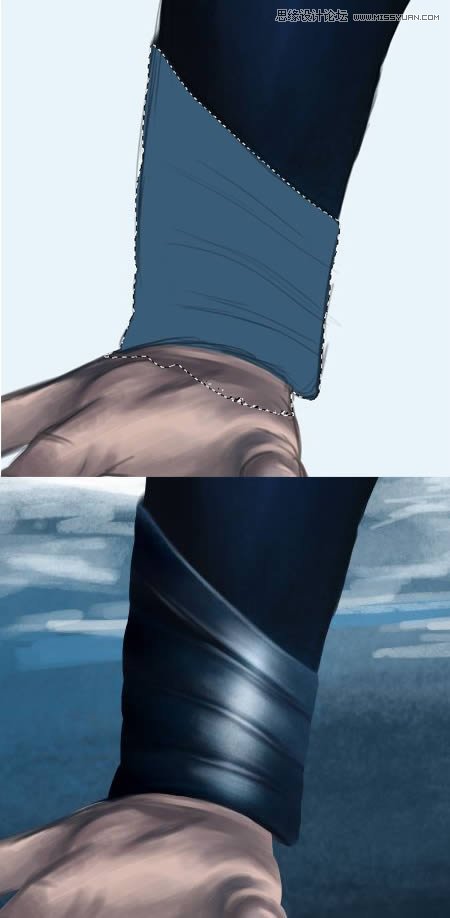
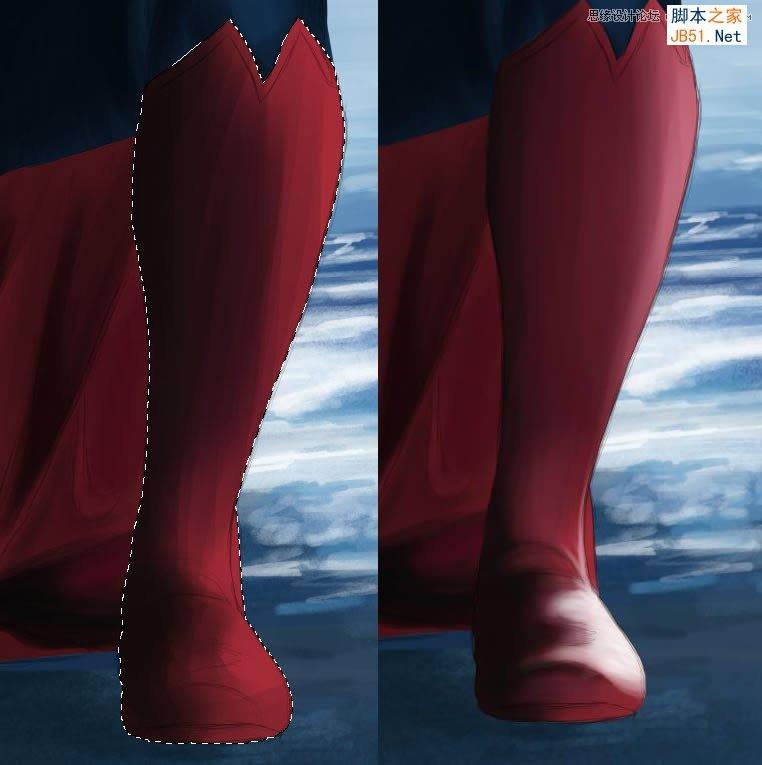
(8)在“Boot”层上,添加更多细节,尤其是脚趾(鞋底向上开始转动)
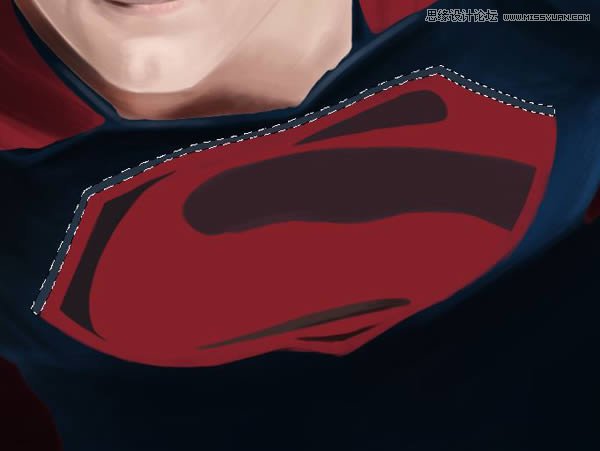
(9)增加标志上的细节
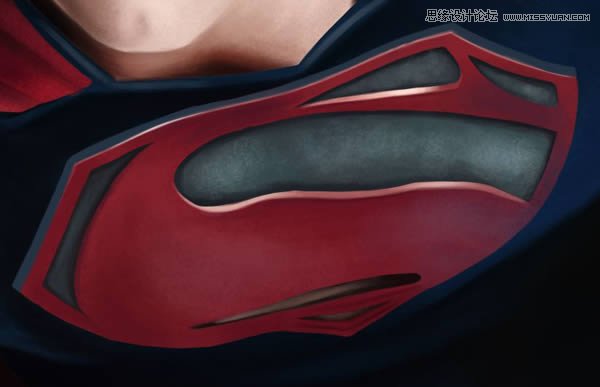
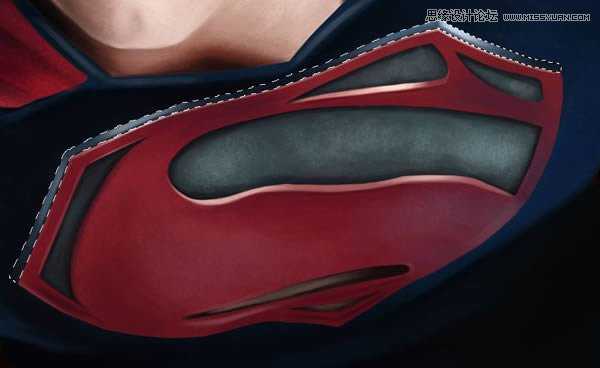
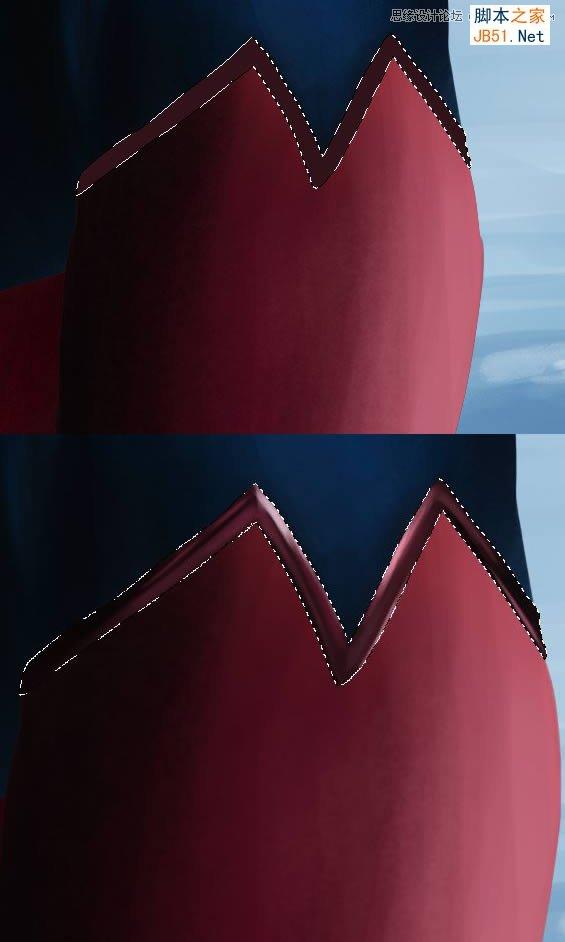
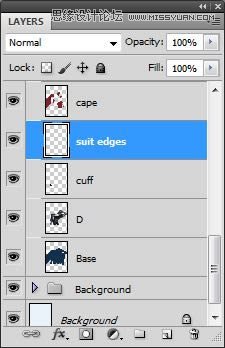
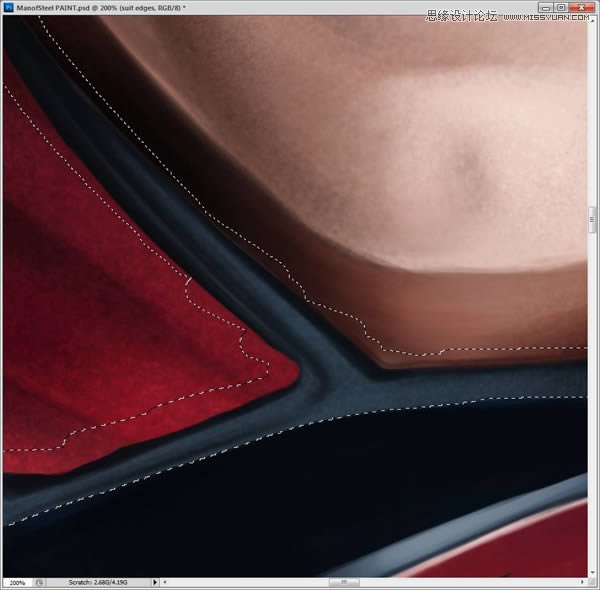
(10)新建图层“suit edges”,绘制衣服边缘细节

(11)绘制更多衣服边缘细节
(12)添加高光
(13)增加手部更多细节
8、衣服纹理
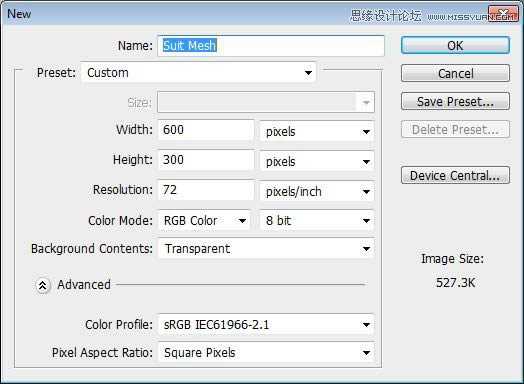
(1)创建新文件,设置如下:
(2)使用椭圆工具(U),在文档中心画个圆圈,并用6px的硬边笔刷描边
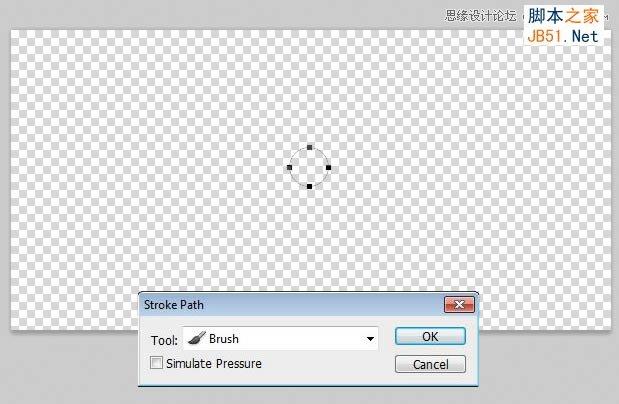
(3)复制刚创建的小圆圈(Ctrl+J)
上一页12 下一页 阅读全文
具体步骤:
1、利用网格辅助还原参考图像的真实比例,迅速描绘出精确的草图。
2、绘制背景
(1)创建“Background Rough”层
(2)选择圆形笔刷,设置不透明度50%左右,绘制大体明暗效果
(3)创建新层,命名为“Background detail1”
(4)选择纹理圆形笔刷,在脚下和身后涂抹
(5)选择除背景层外的所有图层,执行Ctrl+G编组,命名为“Background”
3、基本颜色
(1)新建组“Face”,并新建图层“Face”
(2)设置颜色#e5c7bc,这新层中绘制脸部皮肤
(3)新建图层“Hair”,设置颜色#181212,绘制头发最暗部,尽量避免使用纯黑色。
(4)创建新组,命名为“BODY”,并新建图层
(5)将新层命名为“Base”,设置颜色#142f4d,涂抹整个身体
(6)按住Ctrl,单击Base层,选中此层
(7)在“Base”层的基础上,颜色设置#852028,涂抹出红色斗篷,靴子以及胸前的徽标
4、基本色调
(1)选中“Face”层
(2)选择圆形硬喷笔,绘制中间色调
(3)在“Face”组下,创建新层“eyes”
(4)使用椭圆工具(U),按住Shift键,拖动出个正圆,并填充颜色为#47493e
(5)复制“eyes”层,并拖动到另一只眼睛处,并调整大小,然后擦去多出来的眼脸部分。
(6)选中“Base”层
(7)创建新层,设置颜色#070c12,绘制该区域的暗部,尽量避免使用纯黑色。
(8)在“cape”层上新建图层,并绘制出周围的阴影
(9)在“Boots”层上新建图层,并添加明暗色调,还可以添加一些高光
(10)在“hand”层上,新建图层,并画上一些阴影
(11)同样在“symbol”层上新建阴影层
5、皮肤纹理
(1)在“Face”组下,新建“texture”层,选择皮肤纹理画笔,绘制脸部皮肤纹理
(2)选择“Speckeled”精细笔刷,绘制眼睛和耳朵周围
(3)绘制眼睛瞳孔
(4)使用模糊工具柔化边缘
6、头发
(1)使用“圆钝中等硬笔刷”,绘制头发纹理
(2)创建新层,并命名为“hair highlights”,使用纹理圆形笔刷,设置灰白颜色“#b9aca1”,绘制头发高光
(3)同一层上,绘制一些睫毛
(4)确保脸部和头发的细节丰富后,可以进入衣服的绘制
7、衣服绘制
(1)返回到“cape”层,颜色设置#ffe2e5,绘制出衣服的褶皱高光
(2)斗篷细节添加完毕后,打开第一个纹理文件(Noise Texture.jpg)
(3)将纹理拖动到图中位置
(4)继续复制纹理层,确保纹理完全覆盖住斗篷
(5)执行Ctrl+E,合并所有纹理层,并设置“叠加效果,下降25%-30%的不透明度
(6)按住Ctrl,并单击“cape”层,执行Shift+ctrl+I反选,并按Backspace键删除斗篷以外多余的纹理
(7)新建图层“Cuff”,绘制袖口
(8)在“Boot”层上,添加更多细节,尤其是脚趾(鞋底向上开始转动)
(9)增加标志上的细节
(10)新建图层“suit edges”,绘制衣服边缘细节
(11)绘制更多衣服边缘细节
(12)添加高光
(13)增加手部更多细节
8、衣服纹理
(1)创建新文件,设置如下:
(2)使用椭圆工具(U),在文档中心画个圆圈,并用6px的硬边笔刷描边
(3)复制刚创建的小圆圈(Ctrl+J)
上一页12 下一页 阅读全文
标签:
鼠绘,超人
相思资源网 Design By www.200059.com
广告合作:本站广告合作请联系QQ:858582 申请时备注:广告合作(否则不回)
免责声明:本站文章均来自网站采集或用户投稿,网站不提供任何软件下载或自行开发的软件! 如有用户或公司发现本站内容信息存在侵权行为,请邮件告知! 858582#qq.com
免责声明:本站文章均来自网站采集或用户投稿,网站不提供任何软件下载或自行开发的软件! 如有用户或公司发现本站内容信息存在侵权行为,请邮件告知! 858582#qq.com
相思资源网 Design By www.200059.com
暂无Photoshop鼠绘制作新版超人钢铁侠的评论...
《魔兽世界》大逃杀!60人新游玩模式《强袭风暴》3月21日上线
暴雪近日发布了《魔兽世界》10.2.6 更新内容,新游玩模式《强袭风暴》即将于3月21 日在亚服上线,届时玩家将前往阿拉希高地展开一场 60 人大逃杀对战。
艾泽拉斯的冒险者已经征服了艾泽拉斯的大地及遥远的彼岸。他们在对抗世界上最致命的敌人时展现出过人的手腕,并且成功阻止终结宇宙等级的威胁。当他们在为即将于《魔兽世界》资料片《地心之战》中来袭的萨拉塔斯势力做战斗准备时,他们还需要在熟悉的阿拉希高地面对一个全新的敌人──那就是彼此。在《巨龙崛起》10.2.6 更新的《强袭风暴》中,玩家将会进入一个全新的海盗主题大逃杀式限时活动,其中包含极高的风险和史诗级的奖励。
《强袭风暴》不是普通的战场,作为一个独立于主游戏之外的活动,玩家可以用大逃杀的风格来体验《魔兽世界》,不分职业、不分装备(除了你在赛局中捡到的),光是技巧和战略的强弱之分就能决定出谁才是能坚持到最后的赢家。本次活动将会开放单人和双人模式,玩家在加入海盗主题的预赛大厅区域前,可以从强袭风暴角色画面新增好友。游玩游戏将可以累计名望轨迹,《巨龙崛起》和《魔兽世界:巫妖王之怒 经典版》的玩家都可以获得奖励。