相思资源网 Design By www.200059.com
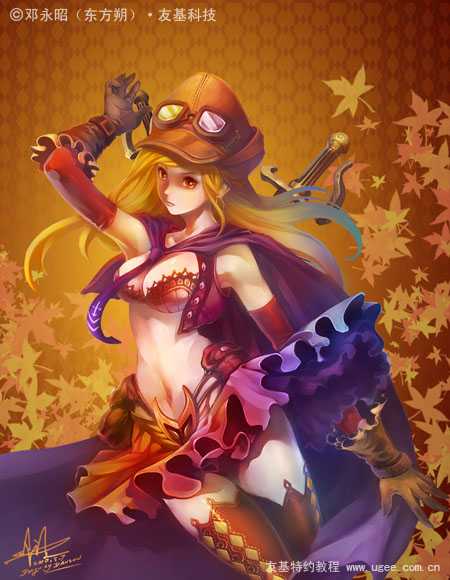
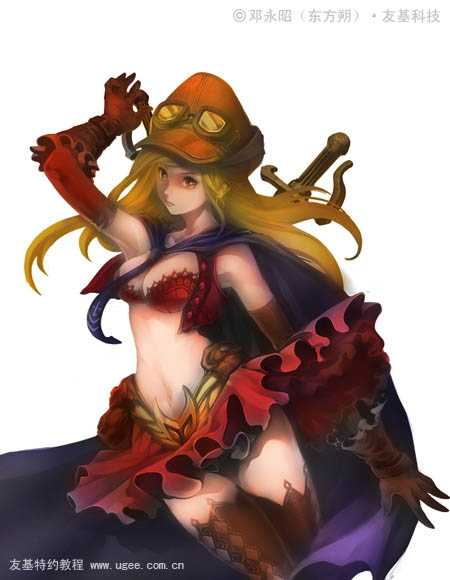
最终效果
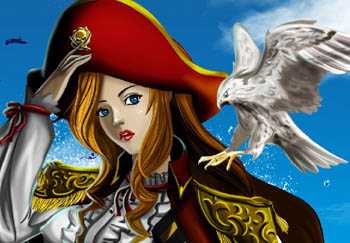
1、首先在网上找素材,女海盗的形象都是比较酷的,我找了一些女海盗相关的电影图片或cosplay照片。

2、海盗的帽子是很有特色的,我会把这个特征融入到这次的作品中。
3、开始绘制线稿部分,选择“喷枪钢笔”笔刷。

4、大概勾勒出一个半身人体动作的形象。

5、定好人物的比例基准线与斜侧面,简单勾勒出帽子的形状、飘动的短裙和披风,让整个造型看起来富有动感。

6、把笔刷调大,涂抹出大概的阴影。

7、接着细化人物的五官,把整体轮廓和眼睛的位置调整好,因为是要塑造出卡通造型的效果,所以眼睛特意画大点,鼻子小一点尖一点。

8、新建一个图层,图层模式设置为“正片叠底”。
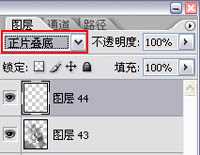
9、涂抹一个灰色图层叠加在线稿图层的上面。

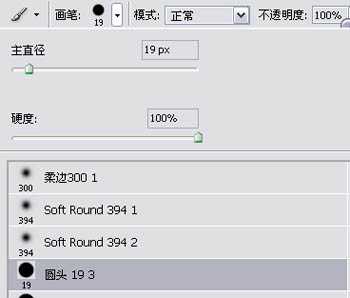
10、选择“圆头”笔刷,细化人物部件。(PS:这个笔刷可以让颜色的深浅过渡更自然些)。
11、看下五官跟配件在细化前后的对比。

12、选择“尖角”笔刷。
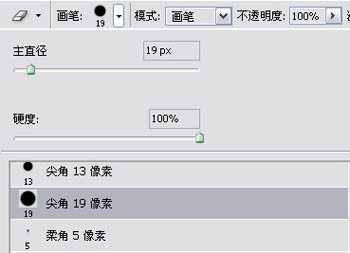
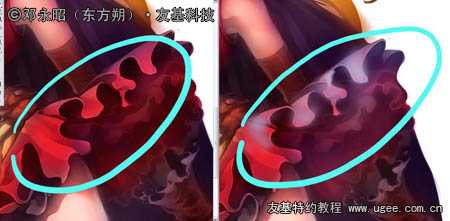
13、画出带有蕾丝的花边。

14、接下来继续对细节(下图黄圈所示的位置)进行细化处理。
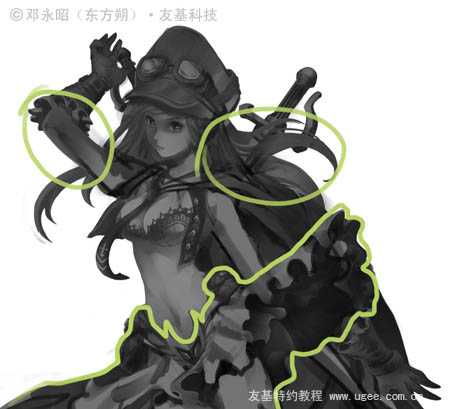
15、细化后的效果如图所示。

16、打开:图像-调整-亮度/对比度面板,分别设置好亮度、对比度的参数。
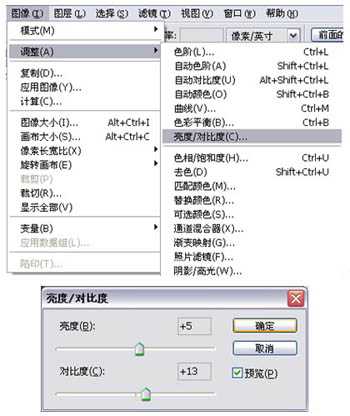
17、调整好画面的明暗关系,这样单色稿的绘制就完成了。

18、接着开始绘制彩色稿,先定下这幅作品需要用到的几个颜色,基本上我会以橙色作为主调子。

19、新建一个图层,图层模式设置为“叠加”模式。

20、把这几个颜色大致的铺上去。
21、使用快捷键“Ctrl+B”调出“色彩平衡”工具,调整色阶。

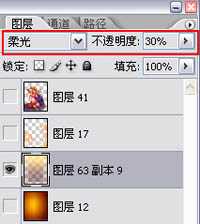
22、调整后颜色的饱和度和融合度明显提高了。
23、继续新建一个图层,图层模式设置为“柔光”模式。

24、选择“喷枪柔边”笔刷,提亮整体画面。

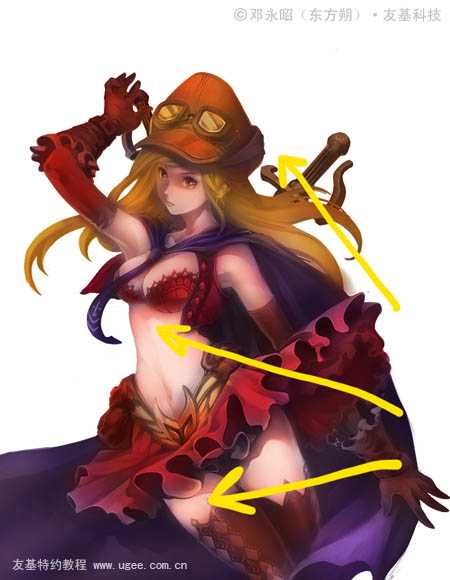
25、加了柔光图层后的前后对比图。

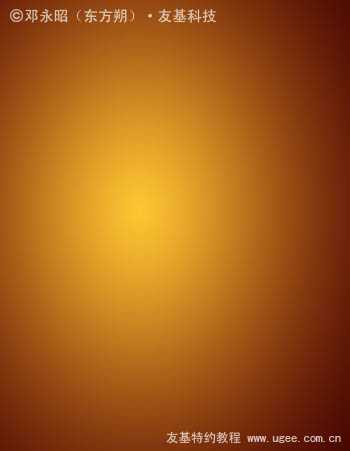
26、在裙摆的边缘加上一点环境色做辅助,让裙子和披风的色调更加融洽。
27、接下来制作背景图层,选择一个颜色,利用【渐变工具】对颜色进行渐变处理。

28、制作一个中间为最亮点、往外扩散的简单背景。
29、找一张纹理素材来加在背景上。

30、把纹理素材的图层模式设置为“柔光”模式。
31、继续制作背景元素,选择“枫叶”笔刷。

32、这个笔刷可以制作出一些枫叶的剪影形状。
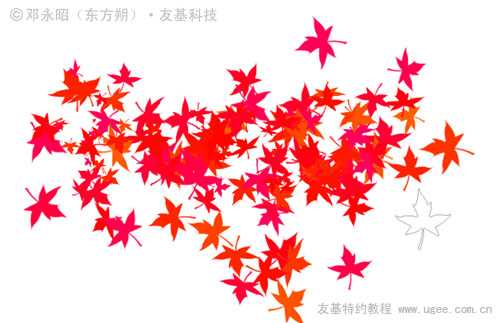
33、新建一个图层,在画面两侧涂抹出枫叶的剪影。

最后显示所有图层,签上名字,完成最终效果。
1、首先在网上找素材,女海盗的形象都是比较酷的,我找了一些女海盗相关的电影图片或cosplay照片。
2、海盗的帽子是很有特色的,我会把这个特征融入到这次的作品中。
3、开始绘制线稿部分,选择“喷枪钢笔”笔刷。
4、大概勾勒出一个半身人体动作的形象。
5、定好人物的比例基准线与斜侧面,简单勾勒出帽子的形状、飘动的短裙和披风,让整个造型看起来富有动感。
6、把笔刷调大,涂抹出大概的阴影。
7、接着细化人物的五官,把整体轮廓和眼睛的位置调整好,因为是要塑造出卡通造型的效果,所以眼睛特意画大点,鼻子小一点尖一点。
8、新建一个图层,图层模式设置为“正片叠底”。
9、涂抹一个灰色图层叠加在线稿图层的上面。
10、选择“圆头”笔刷,细化人物部件。(PS:这个笔刷可以让颜色的深浅过渡更自然些)。
11、看下五官跟配件在细化前后的对比。
12、选择“尖角”笔刷。
13、画出带有蕾丝的花边。
14、接下来继续对细节(下图黄圈所示的位置)进行细化处理。
15、细化后的效果如图所示。
16、打开:图像-调整-亮度/对比度面板,分别设置好亮度、对比度的参数。
17、调整好画面的明暗关系,这样单色稿的绘制就完成了。
18、接着开始绘制彩色稿,先定下这幅作品需要用到的几个颜色,基本上我会以橙色作为主调子。
19、新建一个图层,图层模式设置为“叠加”模式。
20、把这几个颜色大致的铺上去。
21、使用快捷键“Ctrl+B”调出“色彩平衡”工具,调整色阶。
22、调整后颜色的饱和度和融合度明显提高了。
23、继续新建一个图层,图层模式设置为“柔光”模式。
24、选择“喷枪柔边”笔刷,提亮整体画面。
25、加了柔光图层后的前后对比图。
26、在裙摆的边缘加上一点环境色做辅助,让裙子和披风的色调更加融洽。
27、接下来制作背景图层,选择一个颜色,利用【渐变工具】对颜色进行渐变处理。
28、制作一个中间为最亮点、往外扩散的简单背景。
29、找一张纹理素材来加在背景上。
30、把纹理素材的图层模式设置为“柔光”模式。
31、继续制作背景元素,选择“枫叶”笔刷。
32、这个笔刷可以制作出一些枫叶的剪影形状。
33、新建一个图层,在画面两侧涂抹出枫叶的剪影。
最后显示所有图层,签上名字,完成最终效果。
标签:
女海盗
相思资源网 Design By www.200059.com
广告合作:本站广告合作请联系QQ:858582 申请时备注:广告合作(否则不回)
免责声明:本站文章均来自网站采集或用户投稿,网站不提供任何软件下载或自行开发的软件! 如有用户或公司发现本站内容信息存在侵权行为,请邮件告知! 858582#qq.com
免责声明:本站文章均来自网站采集或用户投稿,网站不提供任何软件下载或自行开发的软件! 如有用户或公司发现本站内容信息存在侵权行为,请邮件告知! 858582#qq.com
相思资源网 Design By www.200059.com
暂无photoshop鼠绘出可爱漂亮的女海盗的评论...