相思资源网 Design By www.200059.com
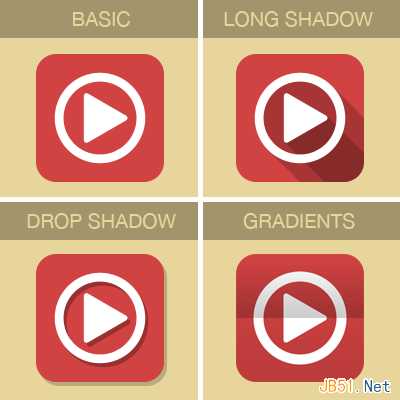
一、常规扁平化
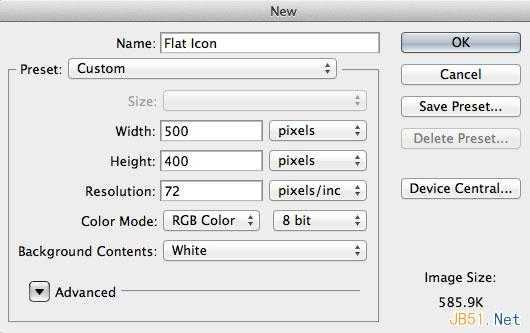
步骤 1:
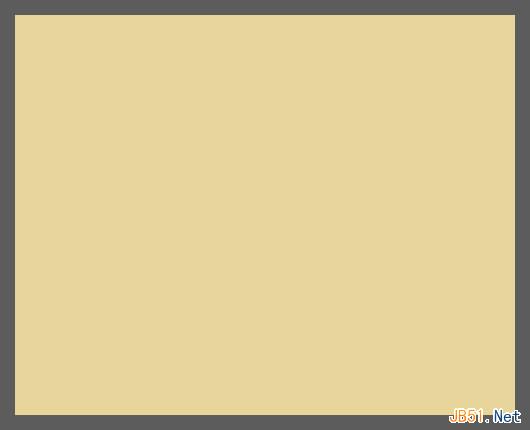
宽度: 500px, 高度: 400px. 背景色#e8d59b.
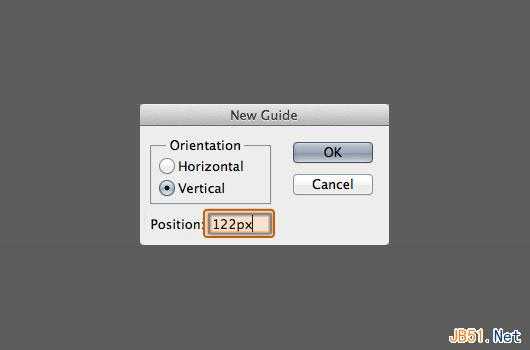
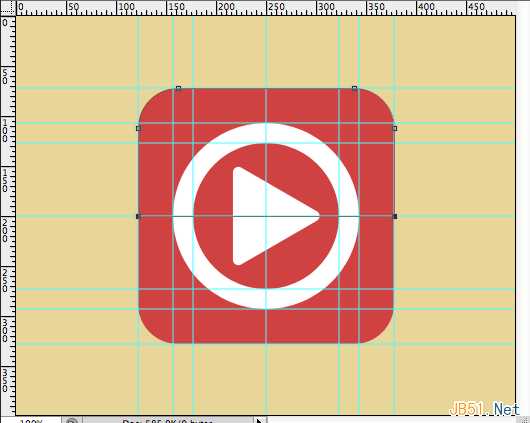
步骤 2:
参考线设置:
垂直:157px,177px,250px,323px, 343px, 378px
水平:72px, 107px, 127px, 200px, 273px, 293px, 328px
最终结果:

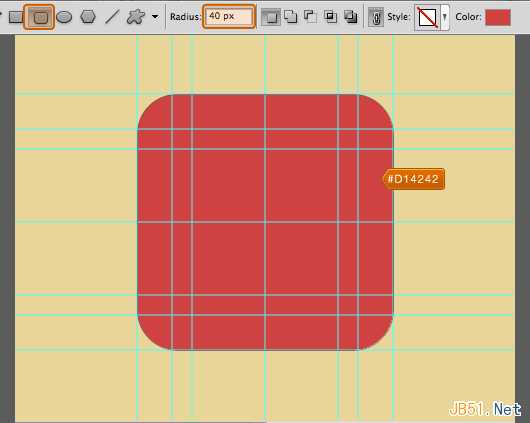
步骤 3:
前景色#d14242,,圆角矩形工具,半径40,如下
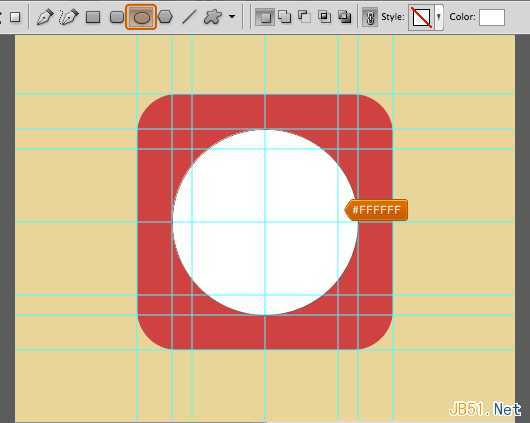
步骤4:
椭圆工具,颜色#ffffff, 在中心创建圆状物体。
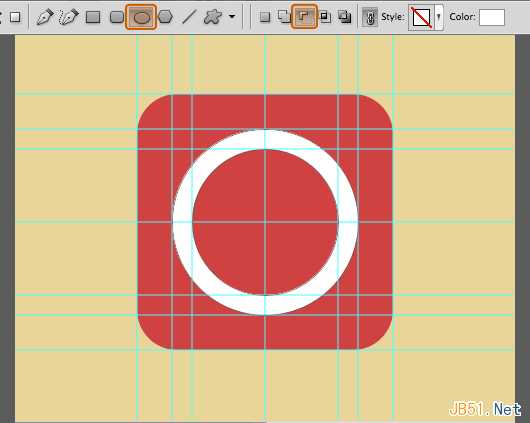
依然在圆形图层,选择减去顶层形状,画出圆环形状如下图。
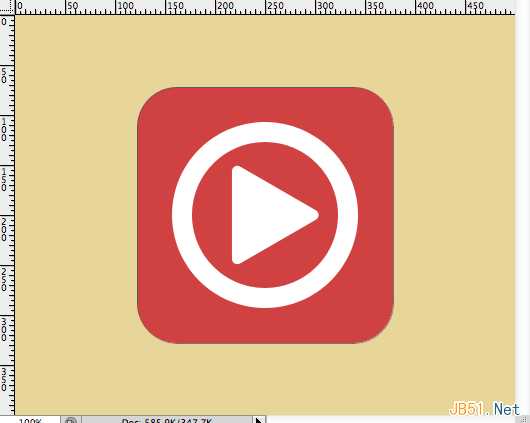
步骤 5:
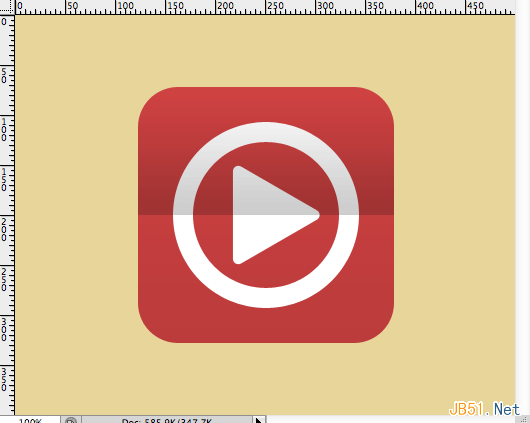
自定义形状工具,前景色 #ffffff, 中心创建三角箭头
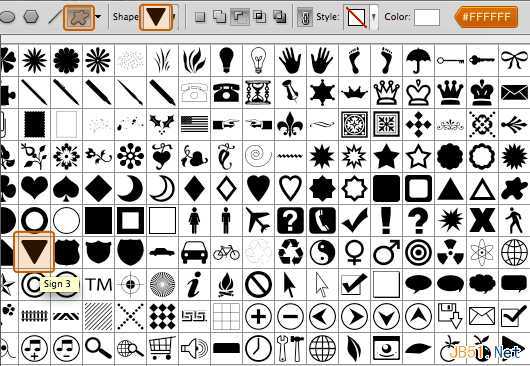
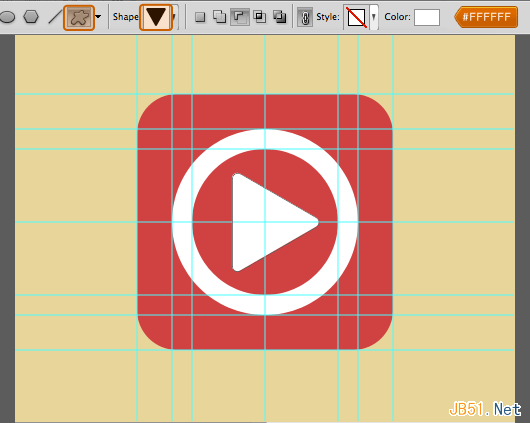
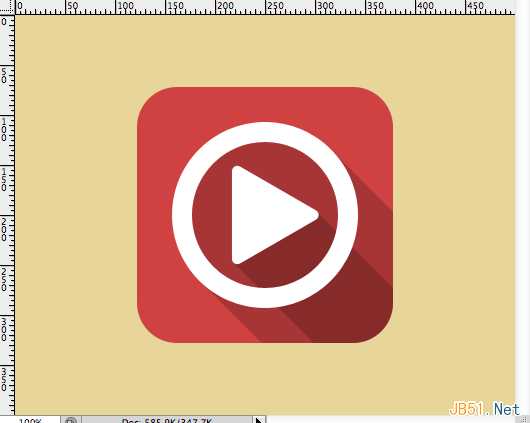
基本扁平化图标告成
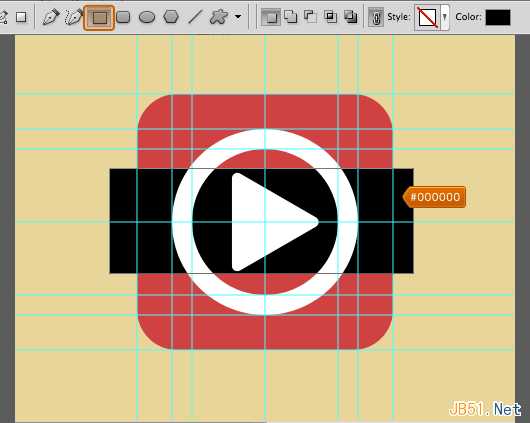
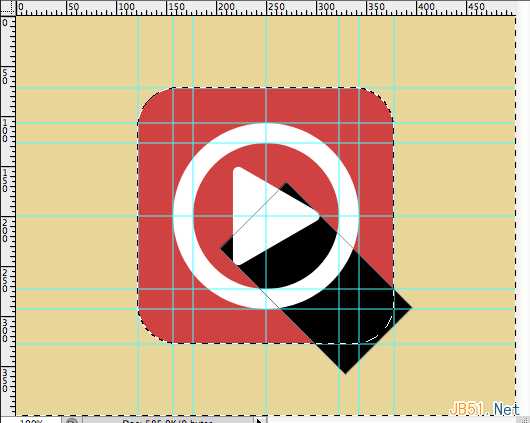
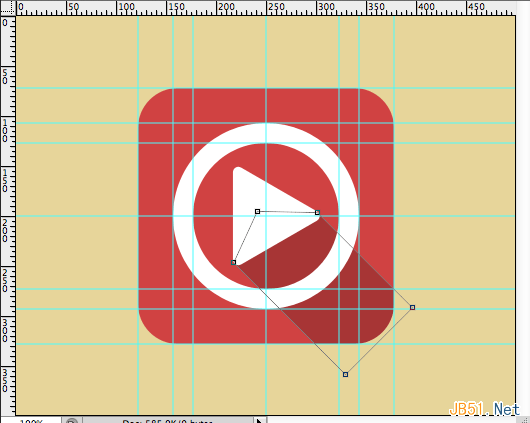
二、长投影步骤 1:
矩形工具,前景色#000000, 在三角箭头图层以及圆环图层下方画出形状如下图
自由变换,选择45度
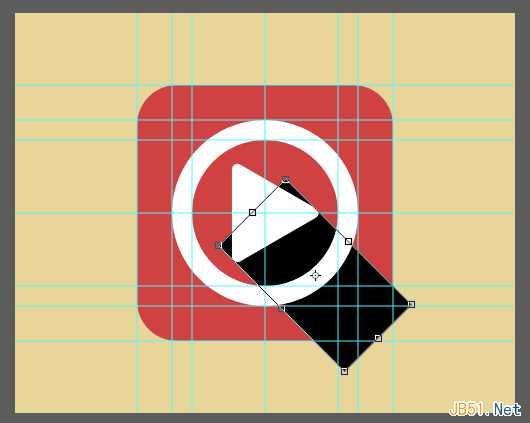
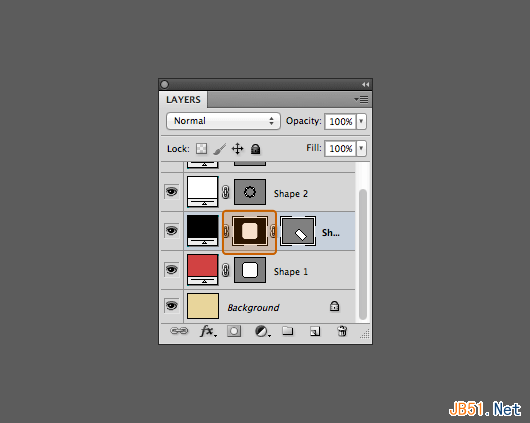
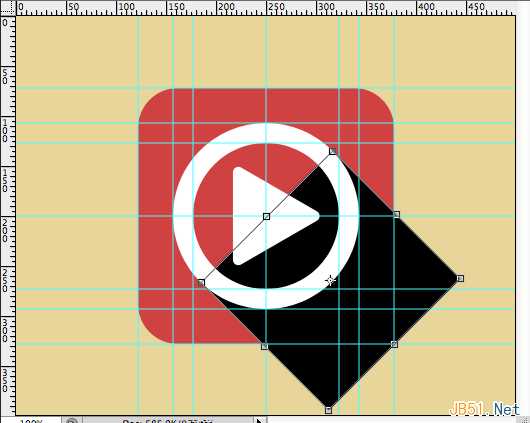
为矩形形状添加图层蒙版
在图层蒙版位置按住CMD+左键单击圆角矩形形状图层,然后选择>反向
使用油漆桶工具,前景色设置为#000000,抹去超出圆角矩形的阴影

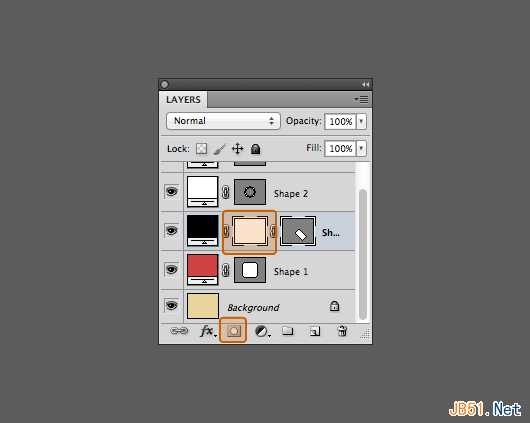
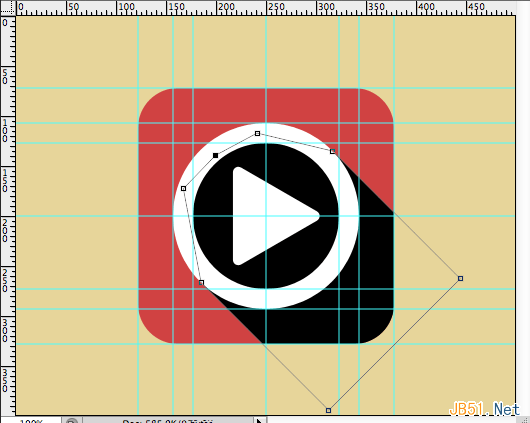
如下图使用钢笔工具
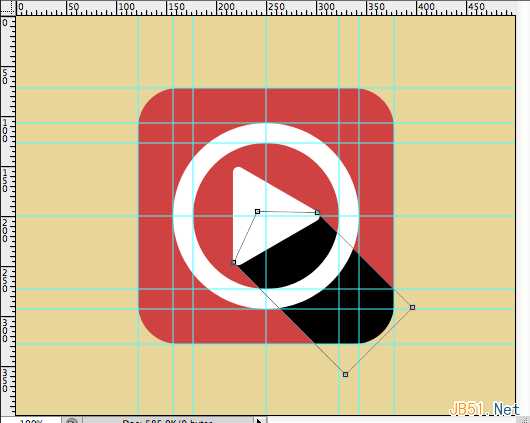
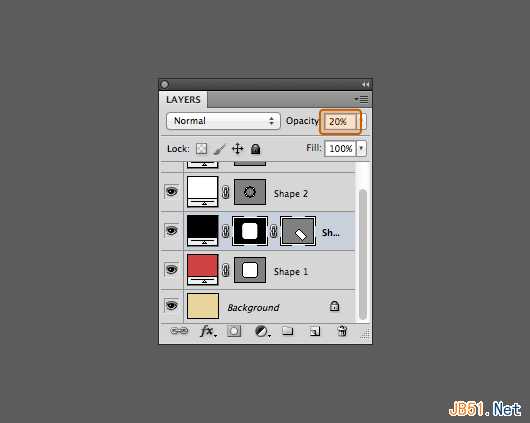
不透明度设置为 20%
步骤2:
步骤1是三角箭头的阴影,步骤2是圆环的阴影,类似同上,不再赘述。
三、 渐变式
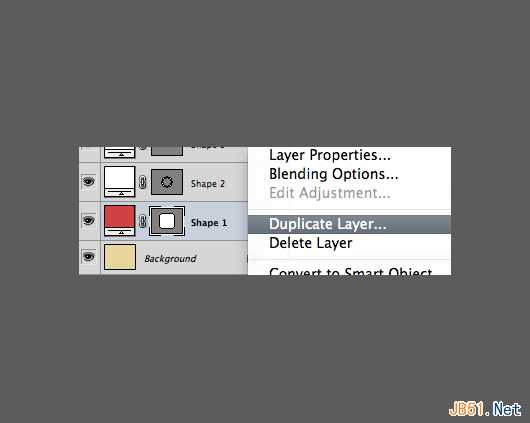
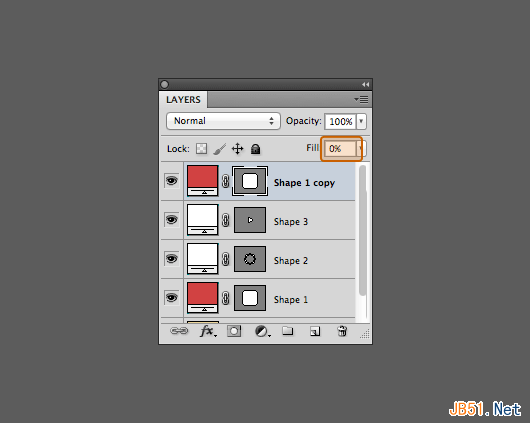
步骤 1:
复制圆角矩形图层,然后移动到图层最顶端,填充设置为 0%
步骤 2:
使用钢笔工具,删除一些锚点,然后拖移一些锚点到中心,如下图。
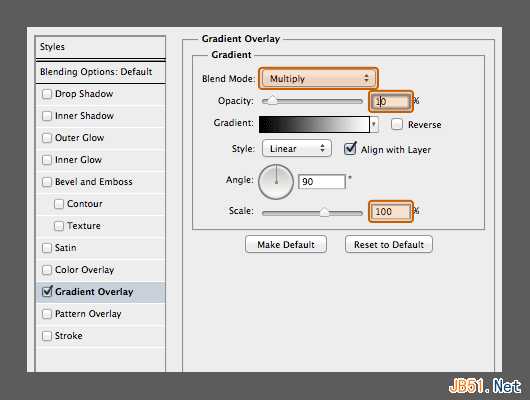
为复制后的图层添加图层样式,如下(正片叠底 不透明度20% 缩放100%)

步骤3:
原圆角矩形图层也如下设置(正片叠底 不透明度10% 缩放100%)
四、投影式
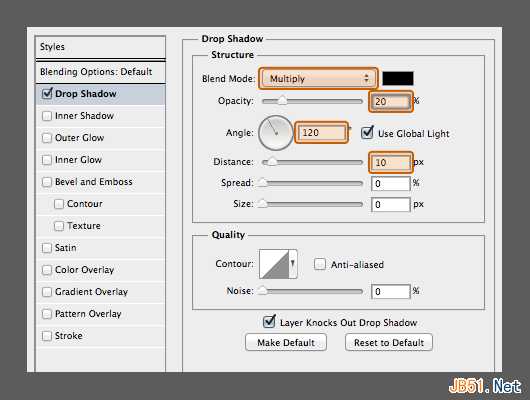
这个超级简单,给所有图层添加如下图层样式即可(正片叠底 不透明度20% 距离10)
恭喜,完工
本教程利用PS讲述了几种扁平化风格的实现,希望你能学以致用,多多实验,开创自己的风格。
转自:http://www.uisdc.com/4-flat-style-tutorials
标签:
PS教程,扁平化风格,扁平化设计
相思资源网 Design By www.200059.com
广告合作:本站广告合作请联系QQ:858582 申请时备注:广告合作(否则不回)
免责声明:本站文章均来自网站采集或用户投稿,网站不提供任何软件下载或自行开发的软件! 如有用户或公司发现本站内容信息存在侵权行为,请邮件告知! 858582#qq.com
免责声明:本站文章均来自网站采集或用户投稿,网站不提供任何软件下载或自行开发的软件! 如有用户或公司发现本站内容信息存在侵权行为,请邮件告知! 858582#qq.com
相思资源网 Design By www.200059.com
暂无PS教程:手把手教你设计四种扁平化风格的评论...